
Proper glass railing installation starts well before the first panel goes up. It starts with making sure your property is ready. Whether you’re upgrading a deck, balcony, or staircase, the way you prepare your space directly affects how safe, clean, and long-lasting your railing system will be. Skipping key steps before or after installation is one of the most common reasons homeowners run into problems. This guide walks you through everything you need to know about getting your property ready and keeping your railings in top shape for years to come.
Table of Contents
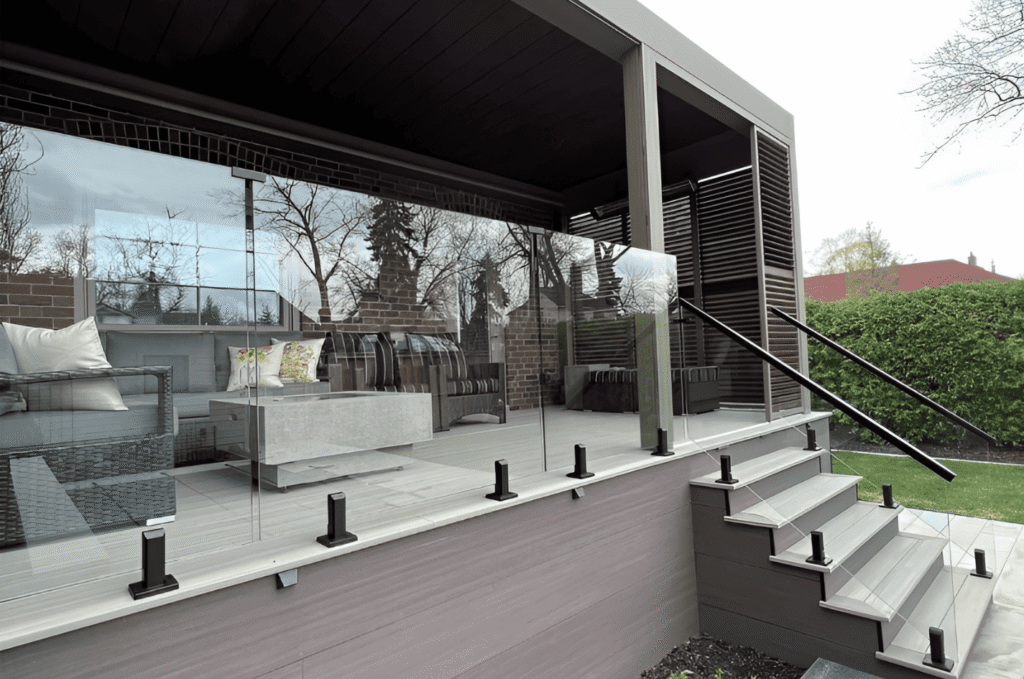
Site Assessment for Tempered Glass Railing Installation
Before any glass panel is ordered or any hardware is placed, your site needs a thorough assessment. Glass railing systems are precision products, and the space they go into must be equally precise. A professional evaluation at this stage saves time, money, and avoidable headaches.
Inspect the Substrate and Structural Integrity
The first thing to check is whether your deck, balcony, or staircase can support the load. Glass panels typically weigh between 50 and 100 lbs per panel, and that weight concentrates at each mounting point. Your rim joists, deck framing, or floor structure must have adequate blocking beneath every post, standoff, or base rail location.
Look for signs of rot, soft spots, or uneven surfaces. If the substrate is not level and structurally sound, your glass railing installation will be compromised before it begins. To understand which system type best suits your property, see our glass deck railing service page before moving forward.
Remove Existing Railings and Clear the Area
Old railings need to come down completely before measurements can be taken. Leaving partial hardware in place creates inaccurate readings, and even small discrepancies matter here. Tempered glass panels cannot be cut on-site, so every measurement must be exact before panels are ordered.
Once the old railing is removed, clear the surrounding area of furniture, planters, and debris. This gives installers clean access and reduces the risk of accidental damage. Working with a railing installer Redmond means they’ll typically walk through this checklist with you before scheduling the install date.
Structural Blocking and Layout for Glass Deck Railing
With the site cleared, the next step is preparing the structure to properly anchor the new system. This is one of the most important and most overlooked parts of the whole process. Poor anchoring is a leading cause of railing failure over time.
Glass deck railing systems in Seattle must meet local building code requirements. Standard residential heights are 36 inches, while commercial installations are typically 42 inches. Confirming these details before ordering materials prevents costly mistakes.
Adding Hidden Structural Blocking
If your framing doesn’t have adequate wood blocking beneath the planned post locations, it needs to be added before installation begins. Blocking distributes the load across a wider area of the frame, which is critical for handling wind loads. This matters especially for deck railing Bellevue systems exposed to Pacific Northwest weather.
This step is often handled by a contractor before the glass railing installer arrives. Coordinate the timing carefully so blocking is in place and properly secured before the installation crew shows up.
Precise Layout and Measurement
Once blocking is confirmed, snap chalk lines or run string lines along the exact centerline of the planned railing. This marks consistent panel spacing and ensures proper alignment between the glass and any adjacent walls or structures.
Every measurement should be double-checked. Because panels are custom-ordered to size, even a quarter-inch error can result in a panel that doesn’t fit. A well-planned layout also ensures your glass railing Kirkland looks clean and symmetrical from every angle.
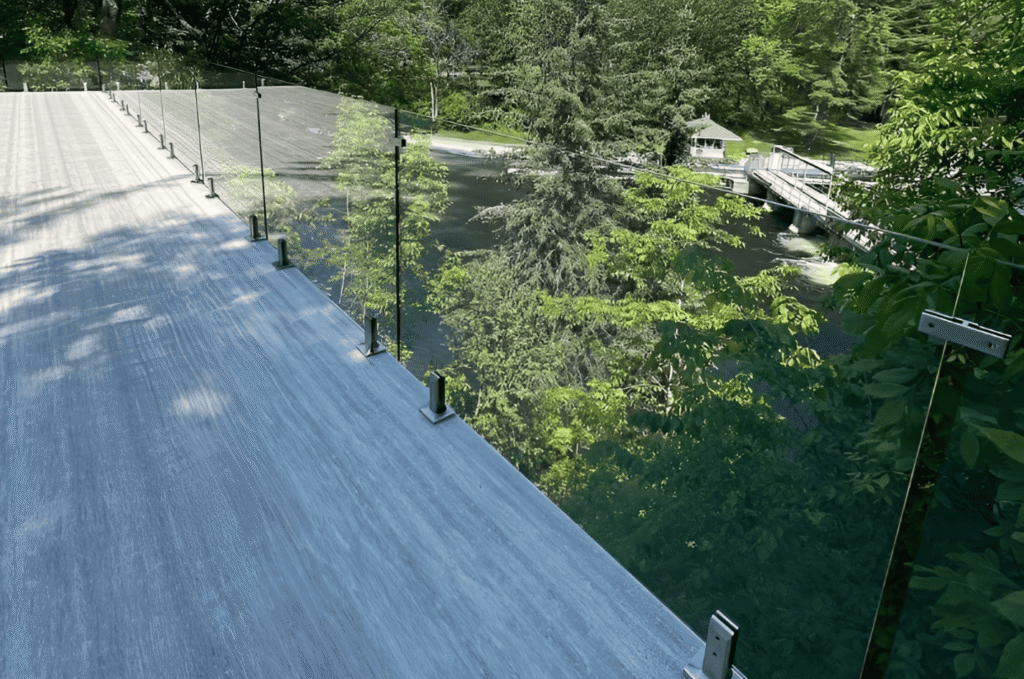
Hardware Preparation and Safe Glass Panel Handling
With the structure ready and measurements confirmed, it’s time to focus on the hardware and the glass itself. This phase requires careful attention and should never be rushed. Improper handling is one of the most common causes of panel damage during glass railing installation.
Hardware used to anchor glass panels, whether posts, spigots, or base channels, must be set using structural lag screws or epoxy-anchored bolts. Pre-drill pilot holes carefully and use stainless steel washers or composite shims to ensure every piece sits perfectly level.
Anchoring Posts and Base Channels
Base channels and post bases need to be anchored flush to the surface with no wobble. Even slight movement at the base will transfer stress to the glass over time, leading to cracks or loosened hardware. After installation, check that all mounting points are tight and properly torqued. For ongoing care, refer to guidance on hardware tightening tips to know when and how to safely re-tighten components.
Silicone sealant should be applied along the inside of base channels to prevent water from pooling inside the track. This is especially important for outdoor glass railing maintenance, where moisture intrusion causes long-term corrosion beneath the railing.
Handling Tempered Glass Panels Safely
Always use at least two people to move glass panels. Vacuum suction cup lifters give a secure grip without putting pressure on the edges. Tempered glass should never come into direct contact with hard surfaces like concrete or bare metal during staging.
Rest panels on cardboard or rubber blocks, and use plastic bushings or setting blocks wherever metal clamps or standoff pins pass through the glass holes. Direct metal-to-glass contact creates stress points that can lead to spontaneous breakage. Before any nearby work begins, read about protecting glass railings so panels stay covered and shielded.
Routine Outdoor Glass Railing Maintenance
Once your glass railing installation is complete, keeping it looking great is straightforward as long as you stay consistent. Outdoor glass railing maintenance is largely about regular cleaning and preventing buildup before it becomes a problem.
Clean your glass whenever it looks dirty and aim for at least one to two thorough cleanings per year. In Seattle’s rainy climate, mineral deposits and water spots build up quickly and become harder to remove the longer they sit.
Approved Cleaning Methods and Products
Use a soft microfiber cloth, paper towel, or a soft squeegee for routine cleaning. Pair it with an ammonia-free glass cleaner, a mild dish soap solution, or a vinegar-based cleaner. These options remove grime without damaging factory coatings on the glass surface.
Avoid abrasive powders, gritty creams, strong acids, or any scraping tools. These will permanently scratch the glass and strip protective coatings. A consistent cleaning habit guided by a monthly cleaning schedule helps you stay ahead of buildup throughout the year.
Applying Water Repellents and Sealants
After cleaning, applying an automotive rain-repellent spray like Rain-X or a dedicated glass surface protector keeps water beading off instead of sitting on the panels. This dramatically reduces water spots and keeps glass looking clearer between cleanings.
Re-apply sealant along the base channels annually or after any heavy storm season. This prevents moisture from pooling inside the channel track and protects the underlying structure. For a full breakdown of balcony-specific care, visit our glass balcony railing service page to see what proper installation and upkeep looks like.
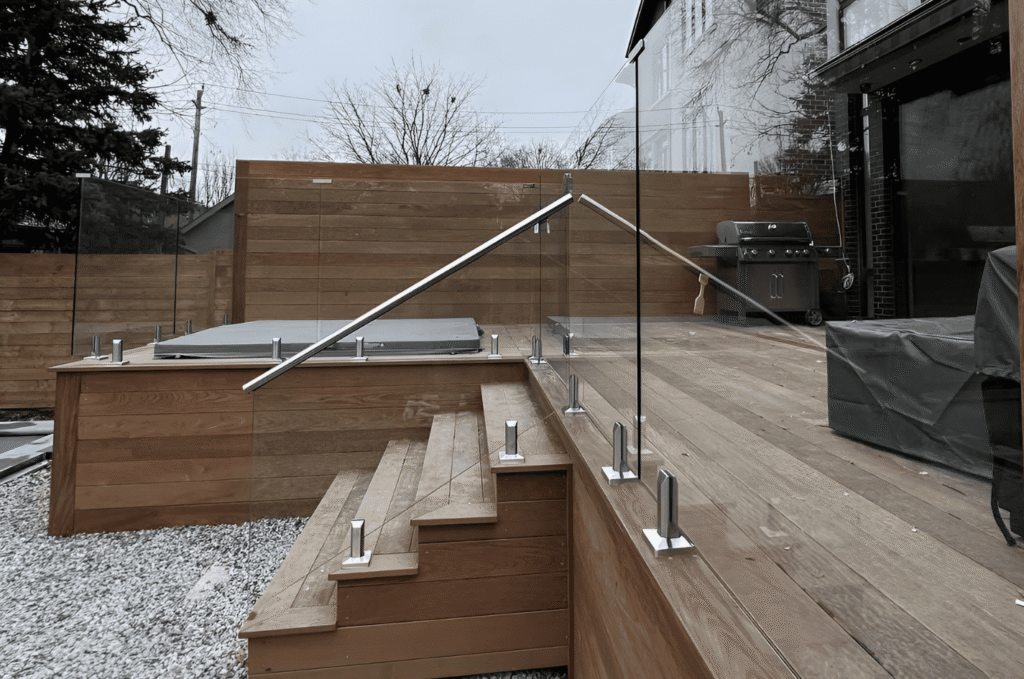
Glass Railing Property Preparation: Common Mistakes to Avoid
Even with the best intentions, mistakes during preparation or maintenance can create problems that are difficult or expensive to fix. Knowing what to watch out for keeps your glass railing installation on track from day one.
The most common errors fall into three categories: skipping the structural assessment, ordering panels before final measurements are confirmed, and using the wrong cleaning products after installation.
Ordering Panels Too Early
One of the most costly mistakes in tempered glass railing installation is ordering panels before the site is fully prepped and measured. If blocking gets added or measurements shift even slightly during prep, panels that have already been cut won’t fit. Always finalize your structural prep and layout before placing any glass order.
This is especially important for staircase projects, where angles and transitions add complexity. Work closely with your installer and confirm every dimension before production begins. An experienced glass railing Magnolia team ensures the measurement process is professional and code-compliant.
Using the Wrong Maintenance Products
After installation, some homeowners reach for whatever spray is under the sink. Products with ammonia, bleach, or abrasive particles damage the glass surface and can also degrade rubber gaskets, plastic bushings, and metal hardware over time.
Stick with approved products and reapply protective coatings regularly. If you’re unsure what works best for your specific railing system, ask your installer for a recommended product list. The experts at Glass Railing Seattle are happy to guide you through a proper care routine after every project.
Ready to Start Your Glass Railing Project?
Getting the preparation right is what separates a glass railing installation that performs beautifully for decades from one that causes ongoing problems. From structural blocking and precise measurements to safe panel handling and consistent outdoor glass railing maintenance, every step matters.
When you’re ready to move forward, contact our team and we’ll help you get your project started the right way.