Your glass railing project timeline typically spans six to eight weeks from your first phone call to the moment your installer finishes the job. That may sound like a long window, but every week is filled with precision work that keeps your railing safe, code-compliant, and looking flawless. Unlike stock components from a warehouse, a custom glass railing project demands exact measurements, engineered drawings, and panels cut to the millimeter.
In this guide, we walk you through each phase of your glass railing project timeline so you know what is happening behind the scenes and how to keep everything on schedule.
Table of Contents
Planning and Measurement: Setting the Foundation
The first two weeks of your project are about understanding your space, aligning on design preferences, and gathering the data your fabrication team will depend on. Skipping details here creates expensive change orders later.
Your Initial Consultation Call
The process begins when you pick up the phone or submit a contact form. During this conversation, you discuss your design aesthetic, preferred mounting style, base shoes, standoffs, or spigots, and your budget. The installer asks about location, approximate linear footage, and whether you want a top rail or frameless look. This is also the time to decide between indoor railings and exterior options based on your project scope.
On-Site Assessment and Templating
Within a few days, a technician visits your property to evaluate the structural integrity of your mounting surfaces. Whether you have wood, concrete, or steel, the substrate determines which anchoring hardware your project requires. The technician checks for slopes, uneven floors, and obstacles that could affect alignment. Laser templates and precise measurements are taken at every mounting point.
Documenting the Glass Railing Site Assessment
Before leaving, the technician photographs every angle, notes substrate conditions, and records overhead clearances for indoor projects. This documentation package becomes the single source of truth for your build. A thorough glass railing site assessment at this stage can save you a full week of delays later.
Design, Engineering, and Code Compliance
Once measurements are locked, your project enters the design phase. This stage typically spans the end of Week 2 through Week 3, translating your vision into a buildable system.
Glass Railing Building Code Compliance
Local codes dictate railing heights, glass thickness, load requirements, and post spacing. A standard residential deck railing must reach 36 inches, while elevated decks or commercial projects often require 42 inches. Your installer verifies every specification against municipal requirements before finalizing drawings.
Shop Drawings and Engineering Approval
Your design is translated into engineer-sealed shop drawings specifying every panel dimension, hardware placement, and structural connection. For commercial or multi-family builds, drawings must be submitted to the city for approval, which can add time. Understanding how design revisions work during this stage keeps the glass railing timeline on track.
Material and Finish Decisions
This is also when you finalize glass type, tempered, laminated, or low-iron, and choose hardware finishes like brushed stainless, matte black, or bronze. Locking in materials before fabrication prevents mid-production changes that push your delivery date back.
Fabrication: The Longest Phase
Weeks 3 through 6 are dedicated to manufacturing, and this is where patience pays off. Your glass railing fabrication time accounts for nearly half of the total project duration because every component is made to order.
Cutting, Drilling, and Tempering
Panels begin as large sheets of raw glass, scored and cut to your exact dimensions. Holes and notches are drilled for your hardware before the glass enters a tempering oven at over 1,100°F. Once tempered, panels cannot be modified, a misplaced hole means restarting that panel from scratch. This is exactly why the measurement phase is so critical to your glass railing project timeline.
Metal Work and Powder Coating
While glass is in production, metal components, posts, channels, base plates, and handrails, are fabricated in parallel. Pieces are welded, ground smooth, and powder-coated at high heat for superior scratch and corrosion resistance. For outdoor railings, powder-coated metal paired with tempered glass is one of the most durable combinations available.
Quality Control Before Shipping
Every panel is measured against shop drawings and every metal piece is checked for finish consistency. High-end projects often apply a protective water-and-stain-repellent coating to reduce fingerprints. Passing quality control without issues keeps your glass railing project timeline moving toward the install date. Components are then created with protective padding for transit.
Installation Day: Bringing It Together
By Weeks 7 and 8, materials arrive and the physical tempered glass railing installation begins. This is the most rewarding part of your glass railing timeline, seeing everything come together. A standard residential project takes one to two days on site.
Site Prep and Hardware Anchoring
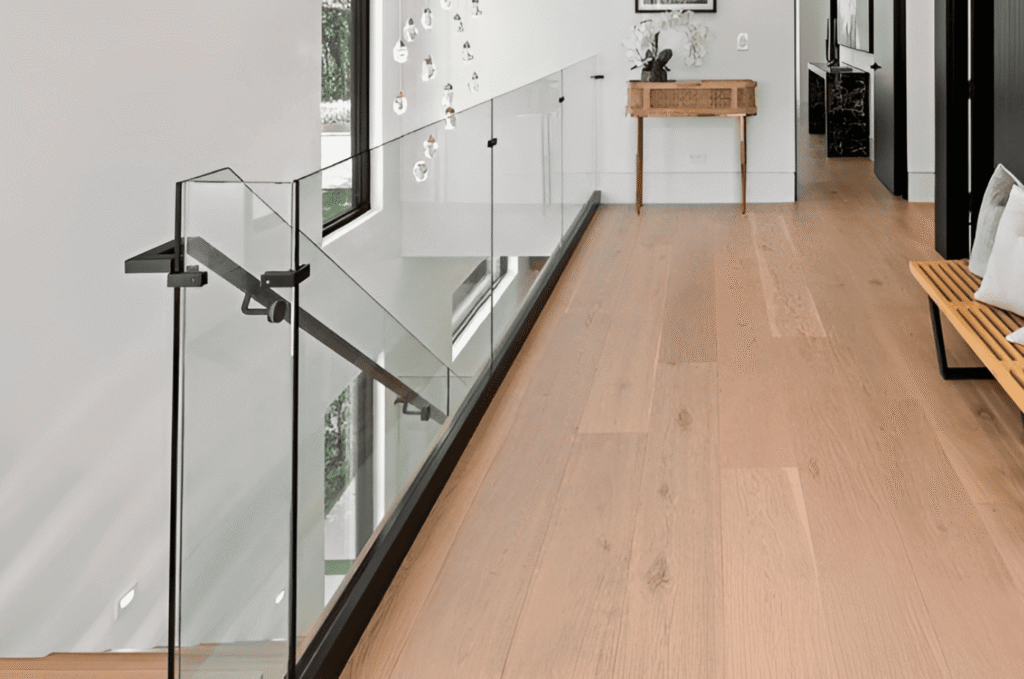
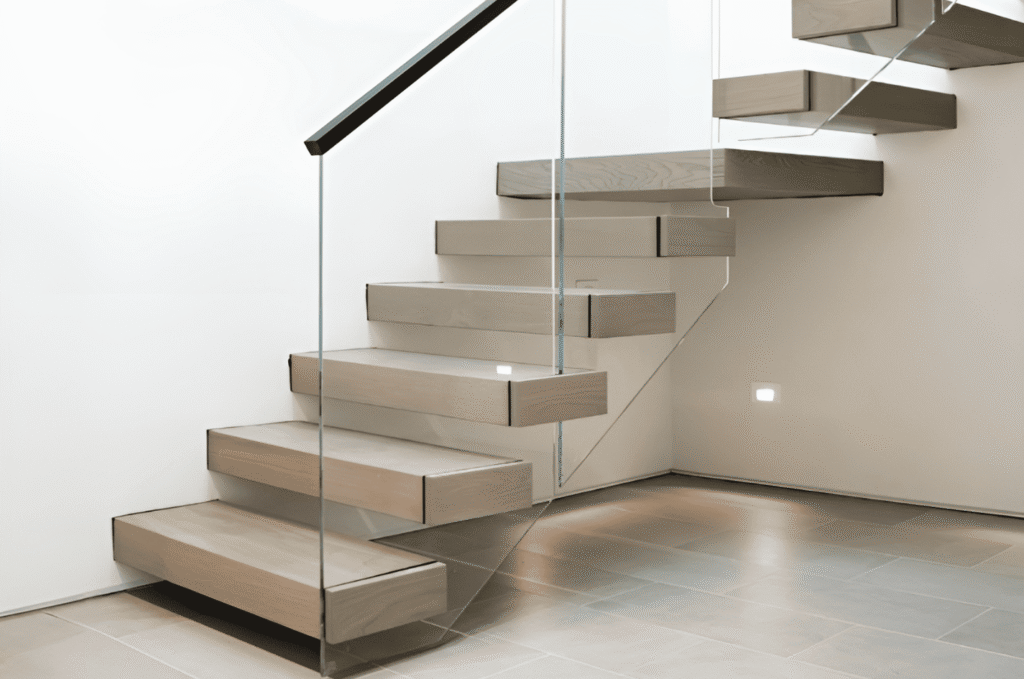
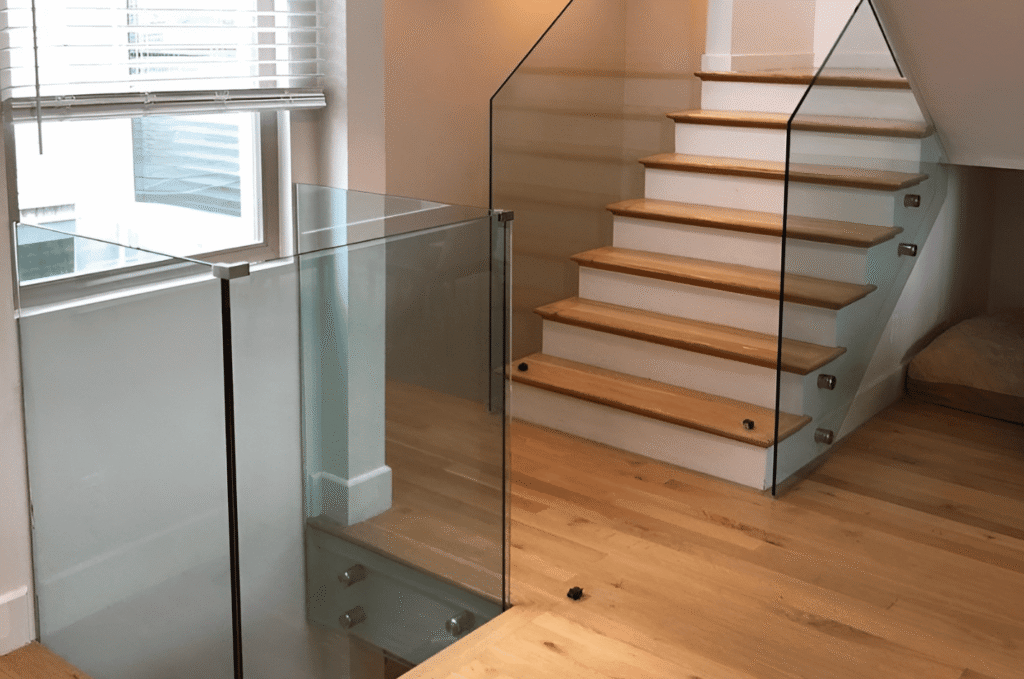
The crew removes any existing railings and clears mounting surfaces. Base plates or floor channels are positioned per shop drawings, leveled, and anchored into structural blocking. Concrete gets expansion bolts, wood uses lag screws, and steel is welded or bolted. Projects involving stair railings require extra precision to match the angle of each tread.
Glass Placement and Alignment
With hardware set, industrial suction lifters position each panel, typically 80 to 150 pounds, into its channel or onto standoffs. The process is the same whether you are installing residential railings on a balcony or a multi-story staircase. Each panel is micro-adjusted for plumb and level, ensuring uniform gaps and seamless corners. Structural clips lock everything in place.
Finishing and Cleanup
Decorative cladding and gap fillers snap over exposed hardware. If your design includes a top rail, it is mounted and aligned across the full run. The crew cleans every surface, removes protective film, and checks for handling scratches. Browse our completed projects to see what a finished tempered glass railing installation looks like.
Final Inspection and Project Closeout
The last step in your glass railing timeline is the formal inspection and sign-off, protecting both you and your installer.
Your Glass Railing Final Walkthrough
Walk the entire installation with your contractor, checking panel stability, seal tightness, and surface cleanliness. Apply firm hand pressure at multiple points and confirm uniform spacing. Our guide on walkthrough tips covers exactly what to evaluate before the crew leaves.
Permit Sign-Off and Documentation
If your municipality requires inspection, the glass railing final inspection is scheduled shortly after work is complete. An inspector verifies the installation meets approved plans and local code requirements. Once signed off, you receive compliance documentation, valuable if you ever sell or refinance. Your installer should also provide a warranty packet and maintenance guide.
Long-Term Care
Clean panels with a non-abrasive glass cleaner every few weeks and inspect hardware connections annually. Coastal or high-humidity environments may need more frequent attention. Whether you have a balcony system or a deck railing, a well-maintained glass railing can last decades without losing clarity or structural performance.
Glass Railing Seattle specializes in custom glass railing design, fabrication, and installation across the greater Seattle area. To start your own glass railing project timeline, contact us today.