Installing a glass railing for deck spaces transforms your outdoor living area. The sleek, modern look opens up views and adds value to your home. But the success of your glass railing project depends heavily on proper deck preparation.
If you get it right, your glass railings for decks will look stunning and last for decades. This guide walks you through everything you need to know to prepare deck for glass railing installation properly.
Table of Contents
Why Deck Preparation Matters for Glass Railings
Glass railing for decks requires more structural support than traditional wood or metal railings. The reason is: glass panels are heavy. A single tempered glass panel can weigh 50 pounds or more. That weight puts stress on mounting points and the deck structure underneath.
Your deck must handle not just the static weight of the glass. It must also resist horizontal pressure when people lean against the railing. Building codes typically require the top rail to withstand 50 pounds of horizontal pressure per foot.
Proper preparation ensures your glass railing system for decks meets these requirements safely.
Step 1: Assess Your Existing Deck Structure
Before ordering any materials, take a close look at your deck. Ask yourself these questions:
How old is your deck? Older decks may have hidden damage or weak spots. Check for rot, especially where posts meet the deck surface and around the rim joists.
What type of decking do you have? A wood deck for glass railing installations works well when the underlying structure is sound. Composite decking also supports glass railings, but the installation approach may differ slightly.
Before matching materials, let’s understand the main glass railing types available. Each system mounts differently and places unique demands on your deck surface.
Each approach requires different structural support from your deck.
Base Shoe Glass Railing: Best Deck Material Matches
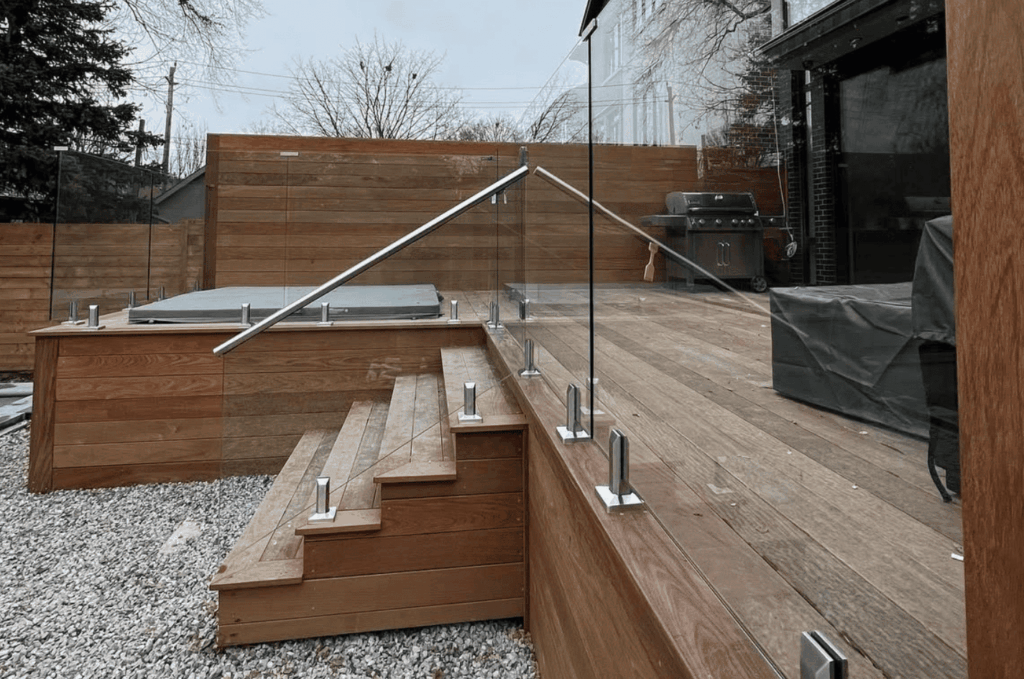
Base shoe mounted glass railings sit in a recessed metal track at the deck surface. This system creates the cleanest, most uninterrupted views. However, it also demands the most from your deck structure.
Best Choice: Concrete or Solid Surface Decks
Concrete provides the ideal mounting surface for base shoe systems. The solid, stable material handles the heavy glass panels without shifting or flexing. Rooftop terraces, pool decks, and balconies with concrete surfaces work perfectly with base shoe glass railings.
Standoff Glass Railing: Best Deck Material Matches
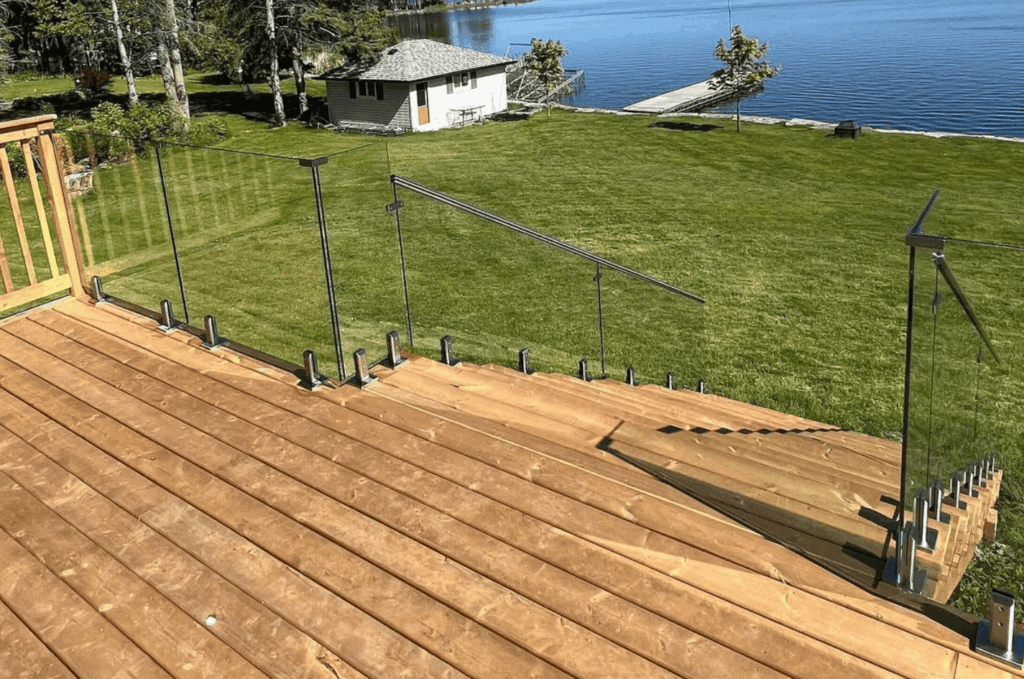
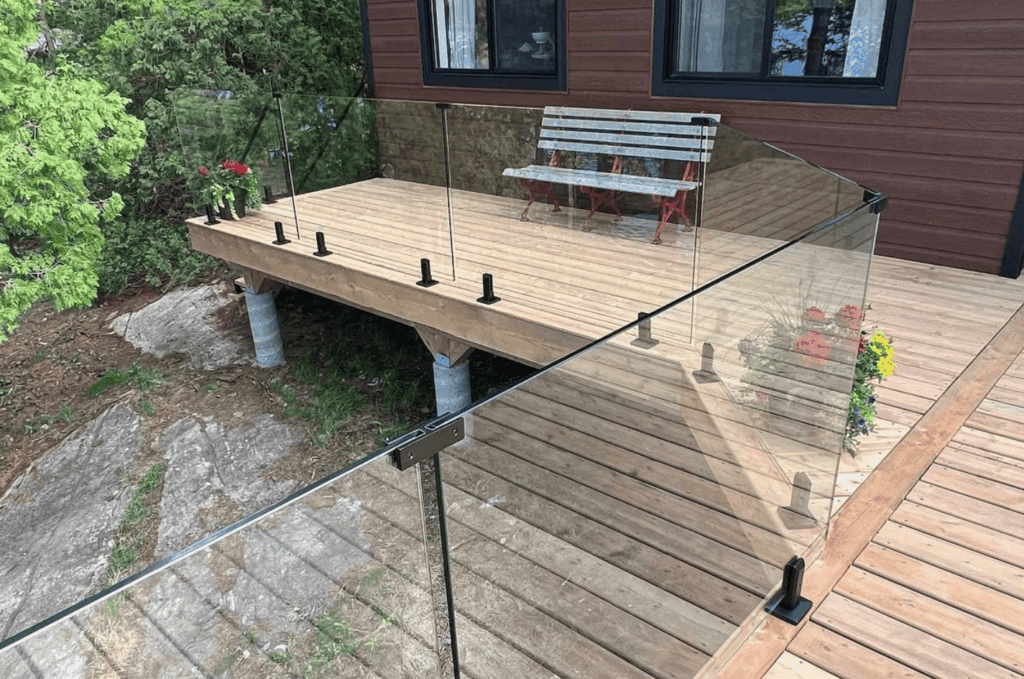
Standoff mounted glass railings use round metal spacers to hold glass panels away from the mounting surface. This creates a floating, modern look. Standoffs typically mount to posts rather than directly to the deck surface.
Best Choice: Any Deck with Solid Posts
Standoff systems are the most flexible option because they mount to posts, not the deck surface itself. This means nearly any deck material works, as long as you have sturdy posts properly anchored.
Post and Clamp Glass Railing: Best Deck Material Matches
Post and clamp systems use vertical posts with clamps that grip glass panel edges. This approach offers great flexibility and works well in both indoor and outdoor spaces.
Best Choice: Composite or PVC Decking
Post and clamp systems pair beautifully with composite decking. Both materials offer low maintenance and modern aesthetics. The posts can mount through composite boards into the framing below, creating secure connections.
PVC decking works equally well. Its resistance to moisture and rot complements the corrosion-resistant hardware used in quality glass railing systems.
Framed Glass Railing: Best Deck Material Matches
Framed glass railings have both top and bottom rails that hold the glass panels. This traditional approach provides excellent structural support and is often the easiest to install.
Works with Nearly Any Deck Material
Framed systems are the most forgiving of all glass railing types. The rail structure distributes weight across multiple points, reducing stress on any single area. Wood, composite, PVC, and even aluminum decking all work well.
The bottom rail provides extra stability and also helps with snow removal in colder climates of Sammamish. Water and debris can drain underneath rather than pooling against the glass.
Step 2: Add Proper Blocking and Support
This step is critical. Glass railing posts need solid backing underneath. Surface-mounted posts and base shoe systems typically require a double 2×8 block under the deck boards where the hardware will mount.
For new decks, adding this support is easy before the deck boards go down. For existing decks, you may need to access the underside to install blocking between joists.
This blocking distributes the load across multiple structural elements rather than relying on just the deck boards. Without it, posts can pull loose over time, creating dangerous situations.
Step 3: Plan Your Post Layout
Glass railing for decks requires careful post spacing. Most exterior glass railing system designs recommend posts no more than 5 feet apart. The maximum distance for glass panels is usually 6 feet, but tighter spacing creates a more stable installation.
Start your layout at the corners. Plan for posts at each corner, plus additional posts at regular intervals. The base of each post should sit 1 to 2 inches from the deck edge. This ensures the mounting screws can reach into the perimeter deck joist for solid attachment.
Mark all post locations on your deck surface before drilling any holes. Use a chalk line to keep everything aligned. Residential glass railing systems look best when posts are evenly spaced.
Step 4: Check for Level and Alignment
Glass panels are unforgiving. They reveal every flaw in your installation. Take time now to verify that your deck surface is level and your post positions align properly.
Use a long level or laser level to check the deck perimeter. Note any low spots or high points. Small variations can often be compensated during installation, but significant slopes may need addressing first. String a line between corner post locations to verify alignment. This simple step prevents crooked installations that are impossible to fix once the glass is in place.
Step 5: Take Accurate Measurements
Measurement errors cause the biggest problems in glass railing for deck projects. Unlike wood that can be trimmed on site, tempered glass panels cannot be modified. If your measurements are wrong, you need entirely new panels.
Measure each section of your deck perimeter independently. Don’t assume opposite sides are equal. Record the run type for each section: straight to straight, corner to corner, or variations in between.
Account for the deck overhang when positioning post templates. Most installations position hardware 1 inch from the outside edge to ensure mounting screws hit the backing underneath.

Finding Professional Help
Look for installers with specific experience in glass railings for decks. They understand the unique structural requirements and can spot potential problems before they become expensive mistakes.
Ready for Your Glass Railing Project?
Preparing your deck for glass railing takes effort, but the results are worth it. A properly prepared deck supports your glass railing system for decks securely for years to come. You’ll enjoy unobstructed views, modern style, and the peace of mind that comes from doing the job right.
Your stunning new glass railing for the deck starts with solid preparation with Glass Railing Seattle. Let’s build it together. Contact us now.