
Your glass railing installation day goes smoothly when you know exactly what’s coming. Most homeowners feel uncertain going in, they’re not sure how long it takes, who shows up, what gets done first, or when the job is truly finished. That uncertainty is understandable, but it doesn’t have to be part of your experience.
A professional glass railing installation follows a structured, predictable process from start to finish. Every phase is planned before the crew arrives: the morning walkthrough, the panel work, the mid-day checks, and the final inspection. When you understand each step ahead of time, you can prepare your space properly, communicate clearly with your installer, and feel confident the job is being done right.
Whether your project is a deck, a staircase, or an outdoor space, the sequence stays consistent. The materials change. The process doesn’t. This guide walks you through the full glass railing installation process, exactly as it unfolds on the day your crew shows up.
Table of Contents
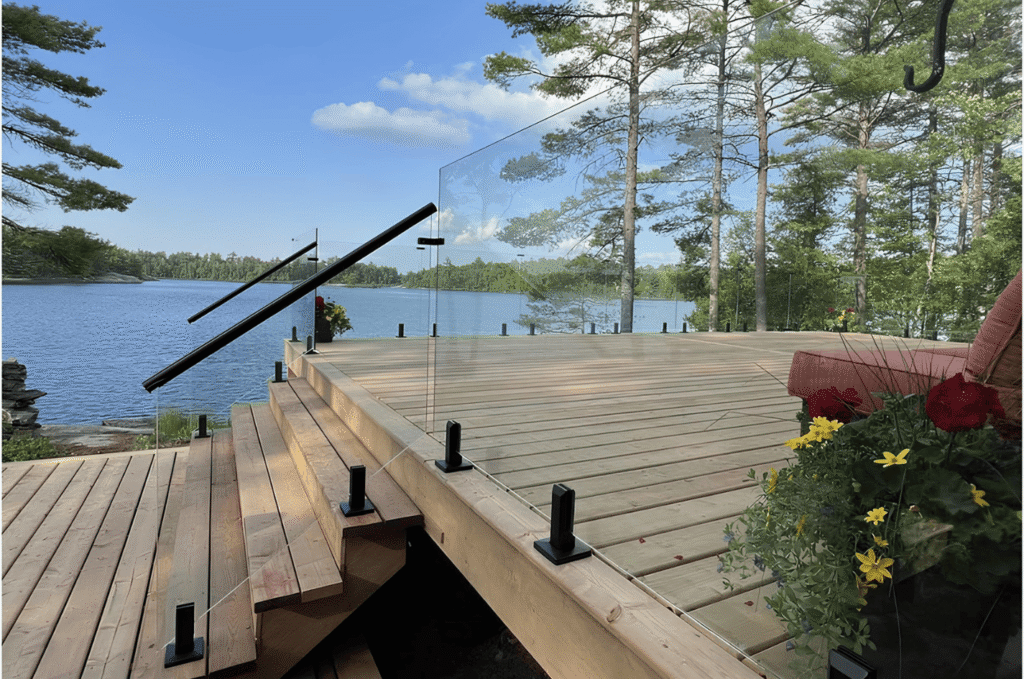
How the Glass Railing Installation Process Begins
Before any panel goes in, your installation team sets the foundation for everything that follows. The first hour of a professional glass railing installation is all about preparation, and it matters more than most homeowners expect. Rushing this phase is one of the most common reasons installations run into problems later in the day.
Site Walkthrough and Measurement Confirmation
The crew starts with a full walkthrough of the project area. They confirm every measurement, check surface conditions, and flag any issues that could affect the installation. They also verify access points, substrate material, and site-specific conditions that weren’t visible during the estimate phase.
This step avoids costly surprises mid-install. Even small measurement gaps can affect how the glass railing panels sit and seal once they’re in place.
Area Prep and Surface Protection
Once the walkthrough is complete, the team lays protective materials on floors, decks, and surrounding surfaces. Tools are organized and the workspace is staged for efficient movement throughout the day. This keeps your home clean and the crew safe from start to finish.
Glass Railing Panel Installation: What Actually Happens
This is the core of your installation day, and the phase most homeowners are most curious about. The glass railing panel installation process is precise and methodical. Nothing gets rushed here, because panel alignment and hardware seating have to be right the first time.
Your crew brings pre-cut, tempered glass panels sized specifically for your project. Each panel is handled with suction lifters and carefully positioned according to your approved layout plan.
Setting the Hardware and Base Channels
The team installs the base channel or standoff hardware first. This involves weather-rated fasteners and corrosion-resistant hardware, especially critical for projects in exposed areas. Every anchor point is drilled and set to specification before any glass goes in.
Getting this right is non-negotiable. Loose hardware is the number one cause of railing failure, and it’s exactly what separates a professional installation from one that fails in year two.
Placing and Securing the Glass Panels
Each panel is set into the channel or mounted to standoffs, leveled, and locked in place. The crew works section by section, checking alignment continuously. Gaps between panels are measured and kept consistent, this is what gives a finished glass stair railing or deck system its clean, seamless look.
For stair sections, the angles require extra attention. Each panel must follow the exact pitch of the stair run, and any deviation gets caught and corrected before moving to the next section.
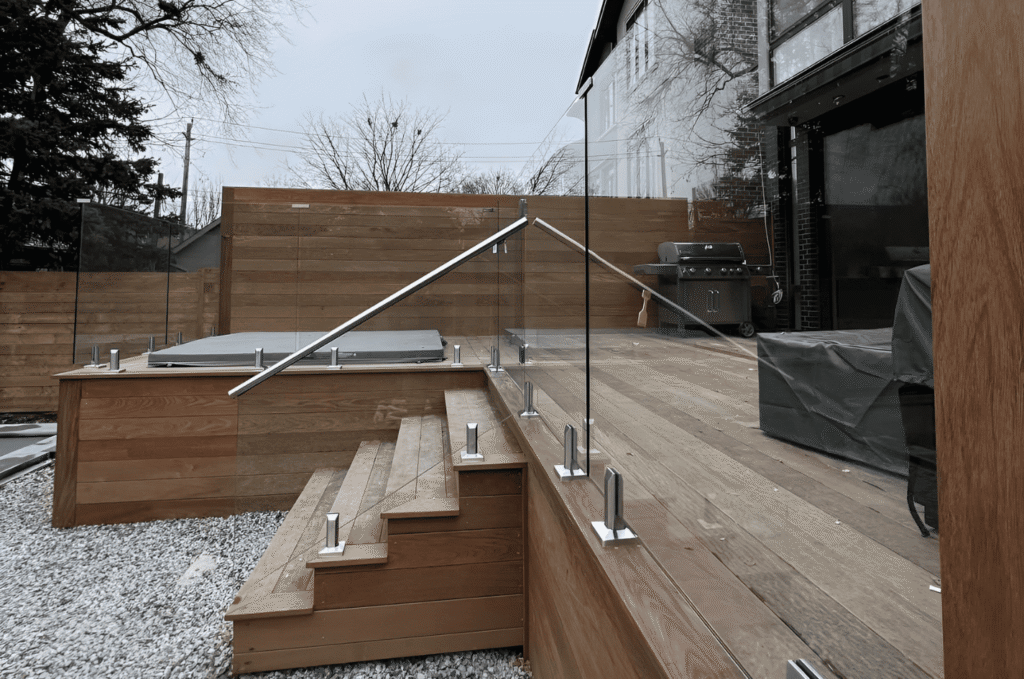
What Professional Glass Railing Installation Looks Like Across Seattle
Professional glass railing installation isn’t just about the glass, it’s about the entire system performing correctly over time. In Seattle, weather conditions shape how experienced crews approach every project. Rain, humidity, and UV exposure all affect long-term material performance, and local installers plan for this from the first anchor point.
Our full guide on glass railings in Seattle covers everything you should know before your installation day arrives.
Frameless vs. Framed System Installation
Frameless systems use standoff pins or a continuous base shoe, no vertical posts interrupting the view. Framed systems use aluminum posts and channels for added structure. The installation sequence differs, but the goal is the same: a railing that holds firm, looks clean, and lasts for years.
Homeowners in Laurelhurst frequently choose frameless systems to preserve sightlines on lakefront and elevated properties. Your crew arrives on installation day already set up for whichever system was confirmed during your consultation.
Installation in Elevated and Hillside Areas
Seattle neighborhoods with hillside lots and elevated decks have additional site considerations, slope, substrate condition, and wind exposure all factor into how the system is anchored. Homeowners in Fremont regularly deal with these conditions, and an experienced crew plans for them before the first drill goes in.
How Long Does the Installation Take?
Most residential glass railing installations take one to two days depending on linear footage and complexity. A standard deck project with 30 to 40 linear feet typically wraps in a single day. Projects in Juanita,with multi-level layouts or stair sections may carry into a second day.
Installation Timelines in Larger Projects
For larger homes or properties with multiple railing runs, the timeline extends based on total linear footage and hardware complexity. Projects in Bellevue often involve both interior stair sections and exterior deck systems in the same scope, which adds a full day to the schedule. Your project manager should give you a clear estimate before the crew arrives.
Mid-Day Checks and Quality Control During Glass Railing Installation
Professional crews don’t just install, they inspect as they go. Mid-project quality checks are built into every glass railing installation to catch issues before they become permanent problems.
Around the midpoint of the day, the lead installer reviews completed sections for alignment, hardware torque, and seal integrity before the team moves forward.
What the Crew Is Looking For
They’re checking for panel movement, plumb and level across every section, hardware seating depth, and any chips or stress marks on glass edges. Panels that don’t pass are pulled and replaced on-site when possible, or scheduled for a return visit before project sign-off.
If you’re still in the process of choosing an installer, our guide on how to find a glass contractor explains what a quality team looks like before you commit.
How Weather Affects Same-Day Progress
Seattle weather can shift quickly. Crews working on exterior projects monitor conditions throughout the day. Rain during sealant application can affect adhesion, so timing matters. Experienced local installers know when to push through and when to pause, and they’ll always communicate the plan with you directly.
If weather causes a work stoppage, your project manager will reach out immediately. No guesswork on your end.
Final Inspection and Post-Installation Steps
The last phase of your glass railing installation day is the final walkthrough, and it’s your chance to ask questions and confirm everything meets your expectations before the crew packs up.
The team cleans every glass panel, removes all protective coverings, and does a full visual inspection with you present. You’ll be shown how to clean and maintain the glass, what the warranty covers, and who to contact if anything comes up after the job is complete.
What You Should Check Before Signing Off
Walk every section yourself. Push on panels gently to check for movement. Look along the rail line from one end to confirm alignment. Check that base channels are fully sealed at all wall and deck connections.
A confident crew welcomes this. It’s standard practice on any properly run glass deck railing or stair project, and it protects both you and the installer.
Cleanup and Site Restoration
Before leaving, the crew removes all packaging, hardware debris, and protective materials. Your space should look better when they leave than when they arrived, not just finished, but clean. That’s the standard on every project we complete.
At Glass Railing Seattle, every installation is backed by experienced crews, a structured process, and a real commitment to clean results across every project in the Seattle area.
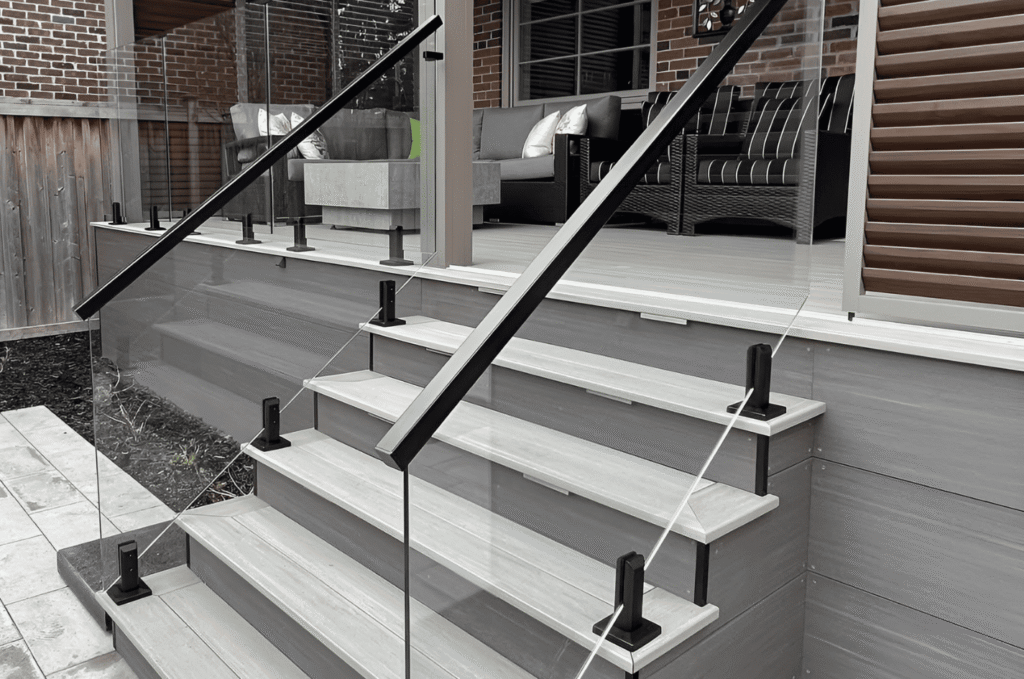
Making the Most of Your Installation Day
Knowing what to expect takes the stress out of the day entirely. Clear the project area before the crew arrives, ensure there’s a clear path from the truck to the work zone, and have someone available, either on-site or reachable by phone, in case questions come up during the job.
A smooth glass railing installation comes down to preparation on both sides. Your installer brings the skill and materials. You bring an open space and clear communication.
Ready to move forward? Contact our team and let’s get your installation day scheduled.