
Before tempered glass railing installation ever begins, the project moves through planning, design approval, precise measuring, custom panel fabrication, and site and hardware preparation. Almost all of the work that decides how well a railing turns out happens during this pre-installation stage, not on install day itself. Because tempered panels can’t be cut or drilled once made, every step has to be finished correctly before the next one starts, and a single skipped detail can push the whole project back by weeks. Here is exactly what happens before the first panel goes up, and why each stage matters more than the install itself.
Table of Contents
Why Preparation Matters Before Installation
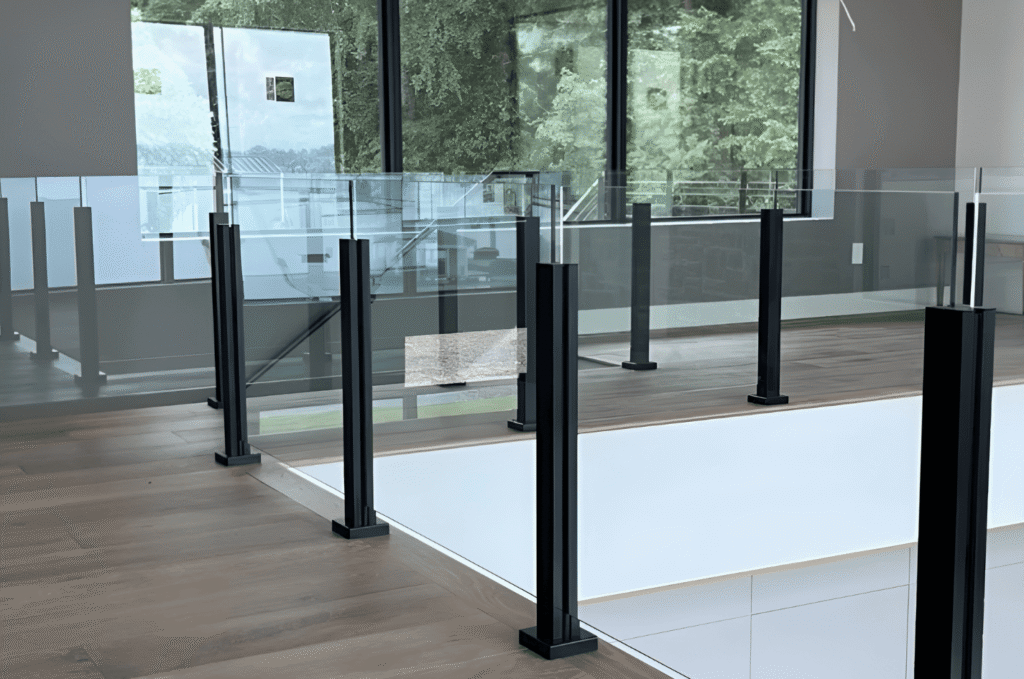
The quality of a finished railing is set long before install day. Careful glass railing installation preparation is what keeps the project on schedule and free of costly surprises. This groundwork is the difference between a smooth install and a stalled one, and it is where an experienced crew earns its value long before anyone touches a panel.
Most of the Work Happens Before Install Day
The visible install is quick, but the pre installation glass railing process behind it takes weeks, as our railing project timeline explains. Planning, measuring, and fabrication all happen first, each one building on the decisions made in the stage before it. By the time panels arrive, the hard decisions are already made, and install day becomes mostly a matter of careful assembly.
Tempered Glass Can’t Be Adjusted Later
Tempering locks in each panel’s size and drilled holes permanently, so nothing can be trimmed on site. This single fact is why measuring and design must be exact before fabrication. One mistake means a full reorder, not a quick fix, which is why crews double-check every figure before it reaches the fabricator.
The Pre-Installation Process at a Glance
From consultation to prepped site, the stages follow a clear order, much like our deck railing timeline lays out. Each phase feeds the next, so skipping steps rarely saves time. Knowing the sequence helps you plan around it and set realistic expectations for when your railing will actually be finished.
Planning and Design Approval
Every project starts with decisions, not tools. Solid glass railing installation planning sets the design, budget, and layout the rest of the timeline depends on. This phase usually takes one to two weeks.
Consultation and Layout Planning
The process opens with a consultation covering style, budget, and where the glass deck railing or other system will go. A site visit lets the team assess the space firsthand. These early choices shape everything that follows, from the glass thickness ordered to the hardware finish that ties the whole look together.
Finalizing the Design
Next you choose glass type, hardware finish, and mounting style, then sign off through a design approval step before anything is ordered. Locking the design early prevents expensive changes later. Approval is the green light for fabrication, and nothing is cut or ordered until that sign-off is in place, protecting you from paying for panels that don’t match the plan.
Confirming Scope and Materials
With the design set, a detailed quote covers glass, hardware, labor, and any reinforcement. Agreeing on scope now keeps the rest of the process predictable. A firm plan here keeps surprises off the schedule and gives you a clear date to work back from as fabrication begins, which is far easier than adjusting mid-project.
Precise Measurements and Custom Panels
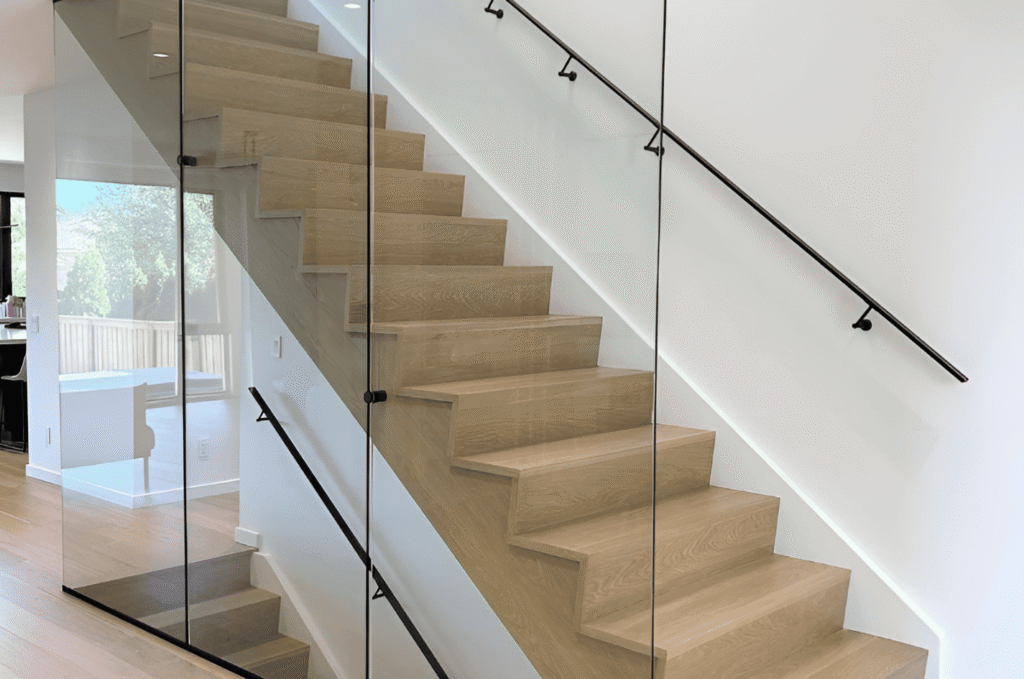
Once the design is approved, accuracy takes over. Exact tempered glass railing measurements drive fabrication, since panels are made to order and can’t be altered afterward. This stage is where precision pays off most, because the numbers gathered now determine whether every panel arrives ready to install.
Field Measuring the Site
A professional templates the finished structure rather than working from drawings, capturing exact dimensions and angles. On projects in Bellevue homes, crews measure after any prep so numbers reflect the real site. These figures go straight to the fabricator, where even a millimeter of error can leave a panel that won’t seat correctly.
Templating Stairs and Angles
Sloped and curved runs need individual templating, which is why a glass stair railing takes extra measuring care. Each angled panel is captured on its own. Precise templates are what make custom panels fit cleanly, and they are especially critical on stairs where no two panels are identical.
Ordering Custom Tempered Panels
The measurements become an order for custom tempered glass panels, cut, drilled, and treated to spec. Homeowners in homes in Redmond choosing bespoke finishes should expect a little more lead time. Once ordered, these panels are locked in, so the design and measurements behind them have to be final.
Site and Hardware Preparation
While the glass is being made, the site gets ready. Thorough glass railing site preparation ensures panels can be mounted safely and cleanly the moment they arrive. This work runs in parallel with fabrication, so the site is fully prepped by the time the finished panels are delivered.
Preparing the Deck or Substrate
The mounting surface is checked and cleared so posts and base shoes anchor into something solid. Crews throughout Seattle confirm the substrate can carry the load before install day. A sound base is essential for a safe railing, because even flawless glass will loosen if the structure beneath it isn’t solid.
Reinforcing and Waterproofing
If framing is weak or drainage is poor, that work happens now, before any glass goes up. Adding blocking or sealing base channels prevents loose panels and water damage later. Fixing it early is far easier than after install, when panels and hardware would have to come back off to reach the problem.
Staging Hardware and Fittings
Careful glass railing hardware preparation means clamps, standoffs, gaskets, and rails are sorted and ready before panels arrive. Homeowners in Sammamish homes benefit when nothing holds up install day. Staged hardware keeps the final step moving, so the crew never pauses mid-install hunting for a missing fitting, and every part is confirmed to match the approved design.
Getting Ready for Installation Day
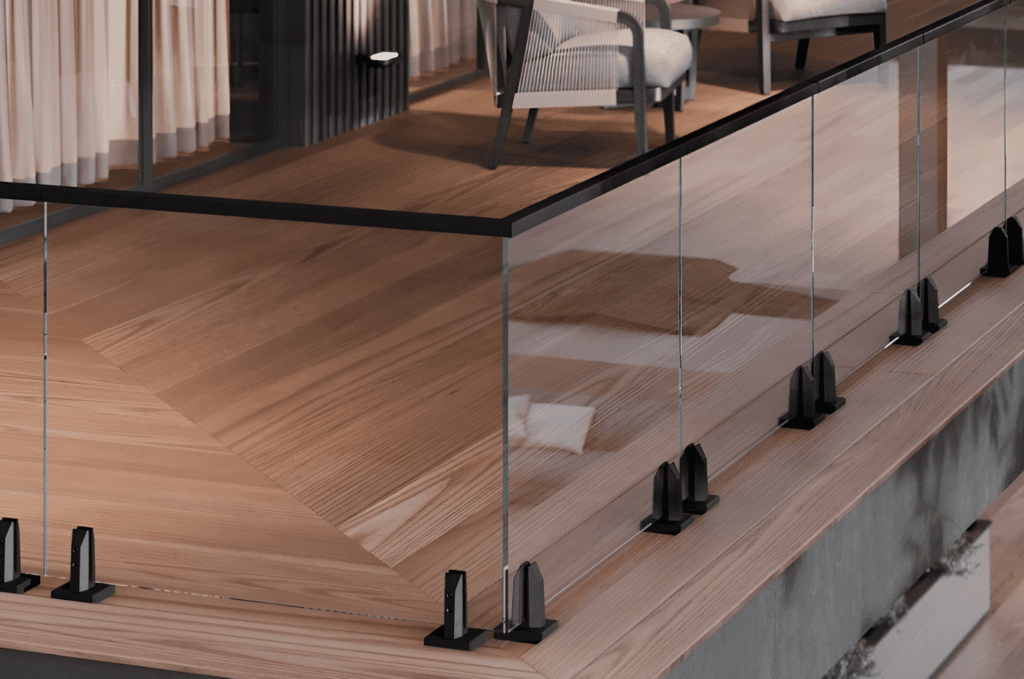
With planning, panels, and prep complete, the project is finally ready to install. Working with specialists through each pre-install stage is what makes the actual installation fast and clean.
Why a Professional Pre-Install Process Matters
A professional handles measuring, ordering, and site prep in the right order, catching issues before they reach install day. That sequence is what prevents delays and reorders. Doing each step correctly the first time is the fastest path to a finished railing, and it is what keeps the whole process on budget.
Why Homeowners Trust Glass Railing Seattle
From first plan to prepped site, homeowners rely on the specialists at Glass Railing Seattle to handle every pre-installation stage. Focusing only on glass means each step is done by people who do it every day.
Start Your Railing Project
Planning a new railing and want it done right from the start? Contact our team for a consultation, and we’ll walk you through each stage that leads up to your tempered glass railing installation.