
Your glass railing final walkthrough is the last chance to catch issues before you accept the finished project. Whether your railing wraps a balcony, lines a staircase, or borders a deck, this step ensures everything meets your expectations and local building codes. A thorough glass railing inspection checklist covers structural stability, hardware quality, panel condition, alignment, and finish. In this guide, we break down the key areas to examine so you can sign off with confidence.
Table of Contents
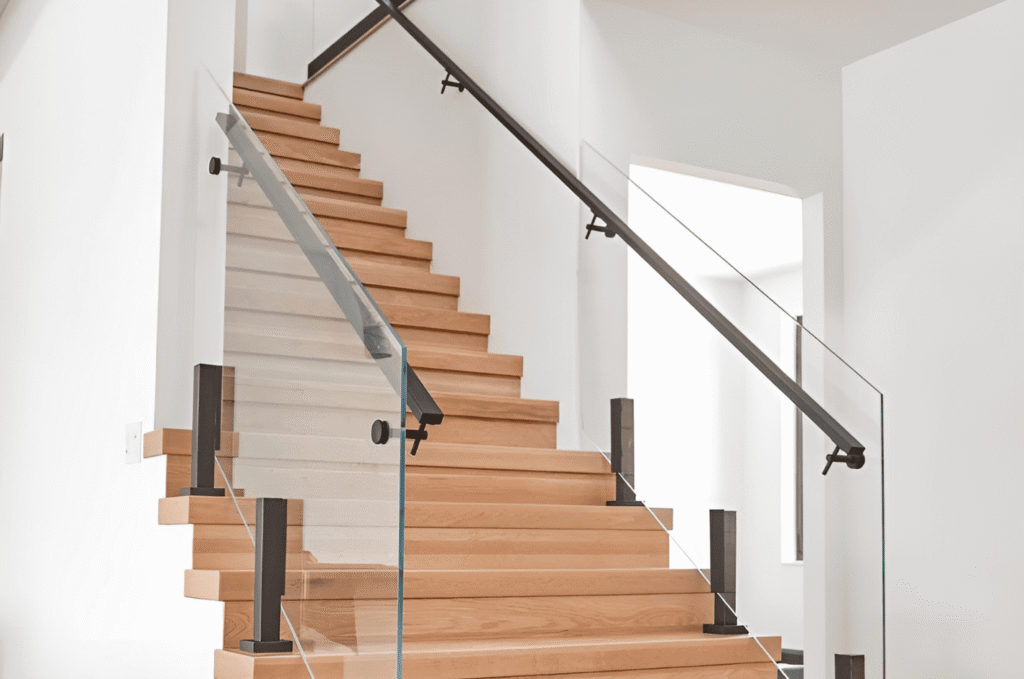
Checking Structural Integrity and Glass Railing Safety
Before you look at anything cosmetic, yourglass railing final walkthrough should start with safety. A railing that looks beautiful but wobbles under pressure is a liability. This part of the glass railing safety checklist focuses on stability under real-world conditions, whether your system is frameless or framed. If you have been following the full project timeline from start to finish, this walkthrough is the final milestone before your railing is officially complete.
Testing Panel Stability Under Pressure
Place your hands at the center of each glass panel and apply firm, steady pressure. The panel should feel solid with no wobbling, sliding, or excessive flexing. Repeat this test at multiple points, especially at corners and transitions. Tempered or laminated glass is designed to handle significant force, so any movement suggests a mounting issue that needs immediate attention. This applies equally to interior glass railings on staircases and exterior installations on decks.
Verifying Load-Bearing Confidence
Beyond hand pressure, consider how the railing responds when you lean against it at a natural angle. Building codes in most jurisdictions require railings to withstand a minimum concentrated load, typically 200 pounds at the top. A commercial glass railing may have even stricter load requirements than a residential one, so always refer to the applicable code. Make a note of any panel that reacts differently from the others, since inconsistency often points to uneven anchoring. One of the most practical glass railing walkthrough tips is to mark each panel location so you can reference specific spots with your installer.
Inspecting Hardware, Anchors, and Mounting Systems
The hardware is what keeps every glass panel locked in place, and it is one of the most important sections of your glass railing installation checklist. Even minor hardware flaws can lead to loosening over time, so inspect everything closely during your glass railing quality check.
Examining Clamps, Standoffs, and Base Shoes
Look at every visible piece of mounting hardware. Whether your system uses standoffs, clamps, or base shoes, each fastener should be fully tightened with no gaps between the hardware and the glass. Base covers should sit flush with no exposed bolts or rough edges. Run your finger around each connection point to confirm a smooth, tight fit. Homeowners in Bellevue and surrounding areas should pay special attention to exterior hardware exposed to Pacific Northwest moisture.
Checking Gaskets and Seals
Rubber gaskets sit between the glass and the metal hardware to prevent direct contact, reduce vibration, and add weather resistance. During your glass railing quality check, look for gaskets that are properly seated without bulging, cracking, or missing sections. Damaged gaskets can cause the glass to rattle or shift and lead to premature wear on both indoor and outdoor installations. This is a commonly overlooked step in a glass railing final walkthrough, but it matters just as much as checking the bolts themselves.
Confirming Fastener Torque and Finish
Every bolt and screw should be tightened to the manufacturer’s recommended torque. Over-tightened fasteners can stress the glass, while under-tightened ones will loosen. Also check that the hardware finish matches throughout, whether it is brushed stainless steel, matte black, or polished chrome. Mismatched finishes suggest replacement parts or inconsistent sourcing. If your project involved a detailed design approval process, compare the installed hardware to the approved specifications to make sure nothing was substituted.

Evaluating Glass Panel Condition and Edges
Your glass railing walkthrough checklist should include a close visual inspection of every panel. Glass defects are not just cosmetic concerns; chips and micro-cracks can become structural weak points over time. This section of your glass railing final inspection applies to both frameless glass railing systems and framed configurations.
Scanning for Chips, Cracks, and Scratches
Walk along the full length of the railing and examine both faces of each glass panel. Look closely at the edges, since this is where chips most commonly occur during handling and installation. Even a small chip on a tempered glass edge can compromise the panel’s structural integrity. On a glass balcony railing, edge defects are especially visible because there is typically no frame to conceal them. Surface scratches that catch your fingernail are considered defects and should be flagged.
Removing Construction Residue
After installation, panels often have suction-cup marks, adhesive residue, fingerprints, or fine dust from construction. A proper glass railing final inspection includes confirming that the installer has done a thorough final cleaning. The glass should be completely transparent with no haze, smudges, or dried mortar spots. Outdoor glass railing panels are particularly prone to collecting pollen and moisture that becomes harder to remove once dried.
Verifying Alignment, Spacing, and Code Compliance
Uneven gaps and misaligned panels are among the most visible flaws in a glass railing system. Adding alignment checks to your glass railing walkthrough checklist helps you catch problems that become impossible to ignore once you start using the railing daily.
Measuring Gap Uniformity Between Panels
The spacing between adjacent glass panels should be consistent from one end of the railing to the other. Use a tape measure or spacer gauge to confirm that gaps fall within the range specified by your local building code. In most residential glass railing projects, no opening should allow a four-inch sphere to pass through, which is a standard safety requirement designed to protect small children.
Checking Level and Flush Alignment
Stand at one end of the railing and look along the top edge. The tops of all panels should be perfectly level and flush with one another, with no panel sitting higher or lower than its neighbors. Even slight misalignment is noticeable on glass railings because the transparency makes every edge visible. Kirkland area homeowners with waterfront views often notice this detail first because the clean lines are exactly what drew them to glass in the first place.
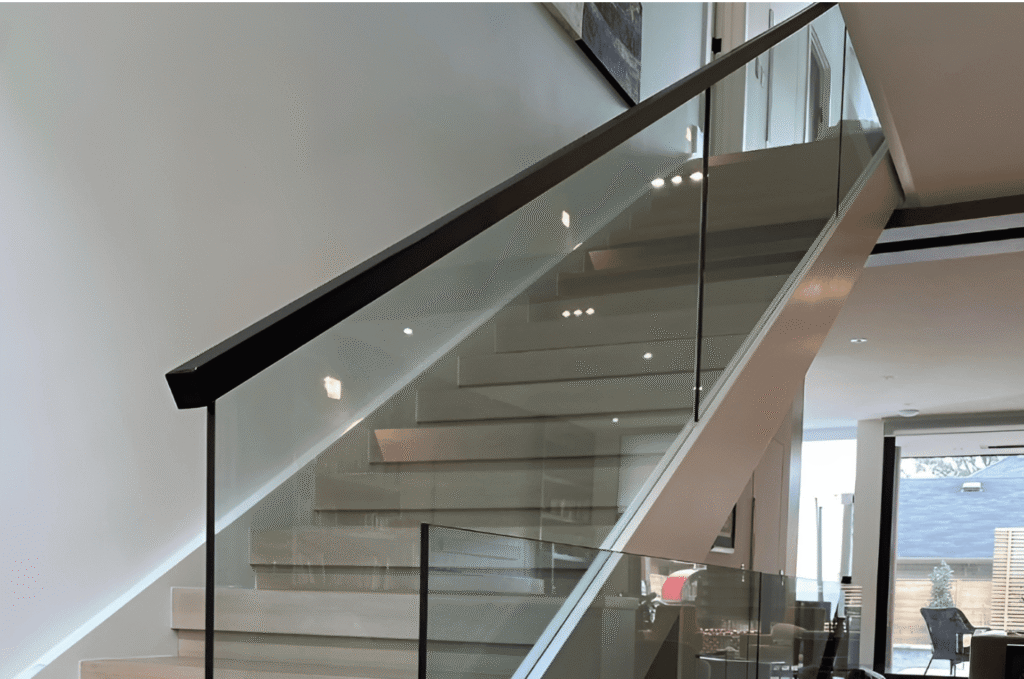
Inspecting the Top Rail and Final Finish Details
The top rail or cap rail is both a visual finishing touch and a functional safety component. This final section of your glass railing final walkthrough ensures that everything is polished and ready for daily use.
Assessing Cap Rail Attachment and Joints
If your railing system includes a top rail, check that it is firmly attached along its entire length. Grip the rail and try to shift it side to side. There should be no movement, no loose brackets, and no rattling. Where rail sections are spliced together, the joints should be tight and smooth with no sharp edges or gaps. On outdoor installations, cap rail integrity is especially important because wind, rain, and temperature changes can loosen connections over time.
Reviewing the Overall Aesthetic and Finish
Step back and view the entire railing system as a whole. The lines should be clean, the hardware consistent, and the glass perfectly clear. Look for any remaining protective film, stickers, or manufacturer labels that should have been removed. Whether you chose a frameless glass railing for unobstructed views or a framed system for added structure, the finished product should complement your architecture. Homeowners in Redmond and across the Eastside often appreciate how a properly finished glass railing preserves their outdoor views.
Documenting Your Walkthrough Results
Take photos and notes during your glass railing final inspection. If you find any issues, document them with close-up images and share them with your installer before signing off. Clients in Bothell and nearby communities can schedule a follow-up visit if punch list items need resolution. Among the most valuable glass railing walkthrough tips is to photograph each issue from multiple angles. Once all items are resolved, you can accept the project with confidence.
A thorough glass railing final walkthrough protects your investment and ensures your railing is as safe and beautiful as it should be. At Glass Railing Seattle, we stand behind our work at 0every stage. If you need expert guidance, contact our team to get started.