
To prepare your home for glass railing installation day, clear the work area, protect nearby floors and furniture, secure pets and children, and make sure the crew has easy access to the deck, stairs, or balcony. A little preparation the day before lets the installers work quickly and safely, which keeps your project on schedule. Because most of the hard planning is already done by install day, your job is mainly to make the space ready and stay out of the crew’s way. Here is a simple, room-by-room guide to getting your home prepared before the crew arrives, so install day goes as quickly and smoothly as possible.
Table of Contents
Why Preparing Your Home Matters
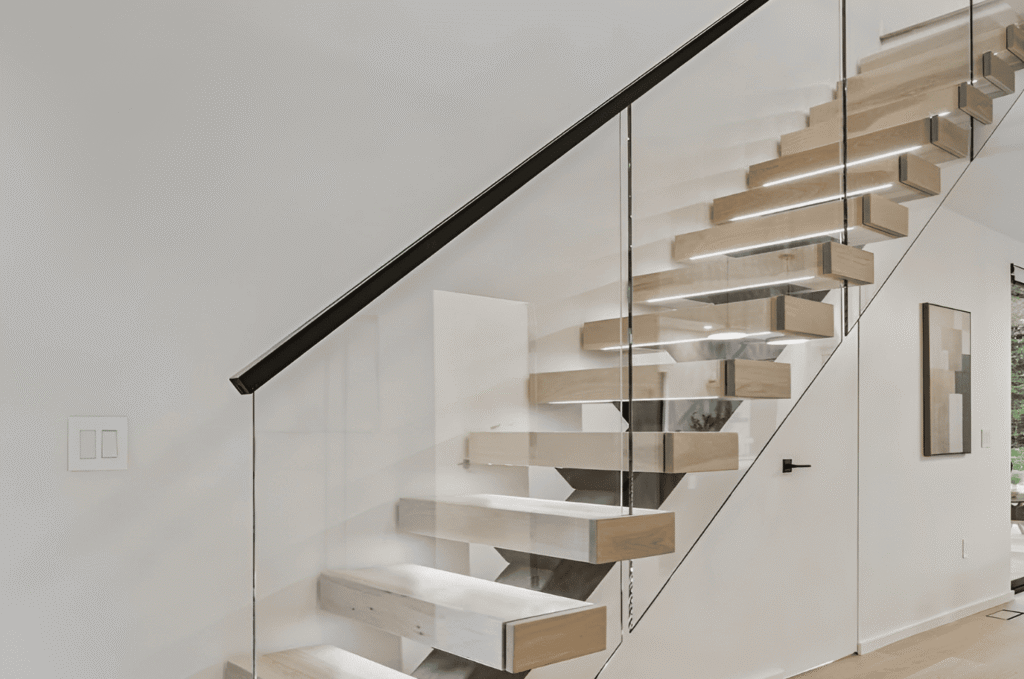
A smooth install day starts with a prepared home. Taking time to prepare for glass railing installation helps the crew move faster and protects your belongings. It also cuts down on interruptions that can stretch the work into a second day, which is one of the most common reasons an install runs over.
A Ready Space Speeds Up the Work
When the area is clear, installers spend their time mounting glass rather than moving your furniture, which keeps the glass railing installation process on track. Fitting install day into your railing project timeline is easier when nothing slows the crew down. Preparation is the simplest way to protect your schedule, and it costs you nothing but a little time the evening before.
Protecting Your Home and Belongings
Clearing and covering nearby surfaces prevents scratches, dust, and accidental bumps during the work. A prepared space keeps both your home and the glass safe. This kind of preparing your home for contractors is worth the small effort, since a single scratched floor can cost far more than an hour of prep.
Fewer Surprises on Install Day
A quick prep the evening before means no scramble when the crew arrives, and homeowners throughout Seattle find it makes the day far calmer. Knowing what to do ahead removes the guesswork. A little planning turns install day into a smooth one, and it lets you enjoy the finished railing instead of managing chaos.
Clearing and Prepping the Work Area
The most useful thing you can do is give the crew a clear, open space to work in. This part of the glass railing installation checklist takes the most time but pays off the most. Focus on the area right around where the railing will go.
Move Furniture and Décor
Shift chairs, tables, planters, and décor well away from where the glass deck railing or railing will be installed. Give the crew room to carry and set large panels, which are heavy and need clear floor space to maneuver safely. A clear path along the whole run matters as much as the endpoints, because panels are long and awkward to carry around obstacles.
Protect Floors and Nearby Surfaces
Covering floors, thresholds, and adjacent walls guards against scuffs from tools and hardware. Homeowners across Bellevue often lay down drop cloths where panels will be carried through. A few minutes of covering prevents most cleanup later, and it keeps fine glass dust off surfaces you would otherwise have to wipe down.
Clear the Deck, Stairs, or Balcony
Sweep the mounting surface and remove anything attached to the old railing or its posts. The area needs to be empty and dry so hardware anchors cleanly. A clean surface is the foundation of a solid install, since hardware anchors best into a dry, debris-free mounting point.
Access, Utilities, and Safety
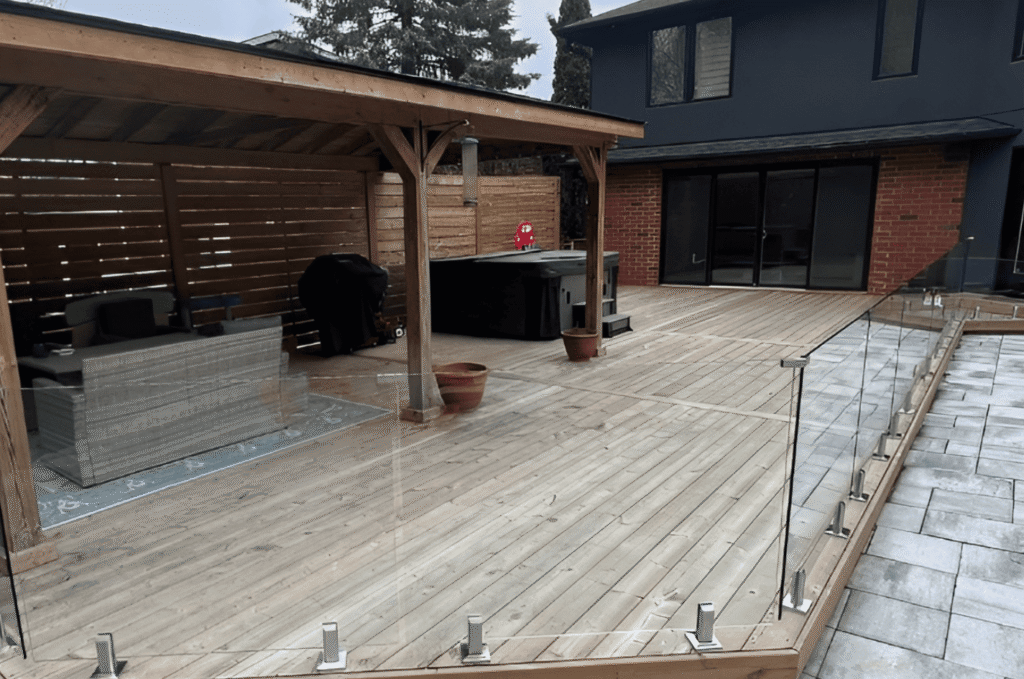
The crew needs to reach the work area easily and safely throughout the day. Good access and a few safety steps keep glass railing installation day running without pauses. These small details are easy to overlook.
Parking and Entry Access
Clear a spot near the entrance so panels and tools can be carried in without long trips, which matters most for an interior indoor glass railing. Unlock gates and prop doors the crew will use. Easy access keeps heavy glass moving safely.
Power and Work Space
Installers need nearby outlets for tools and a clear staging spot for panels and hardware. Point out where power is available before they start, so no one is hunting for an outlet halfway through the job. A dedicated staging area keeps fragile glass off the traffic path, where a stray bump could chip an edge and delay the whole job.
Securing Pets and Children
Keep pets and children well away from the work zone, since tools, sharp edges, and large panels make it no place to wander. Families in Kirkland often set up a separate room for the day. A calm, clear zone is safest for everyone, and it lets the crew work without stopping to watch for anyone underfoot.
What to Expect During Installation Day
Knowing what to expect during glass railing installation makes the day feel routine rather than disruptive. Most installs follow a familiar rhythm from setup to final check. Here is how the day usually unfolds.
Setup, Mounting, and Timing
Crews arrive, stage the panels, and begin anchoring hardware before setting glass, a sequence our tempered glass installation guide details. Most straight runs finish in a day, while more complex jobs may run longer. How long glass railing installation takes depends on the size and layout, so ask your installer for an estimate when the date is booked.
Stairs and Complex Layouts
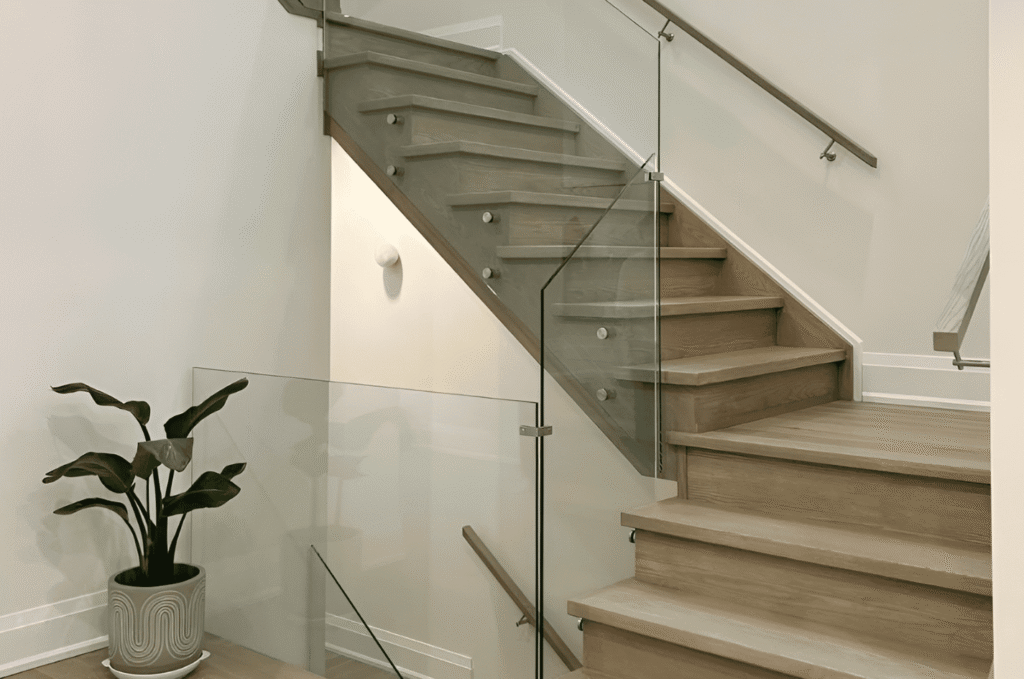
A staircase adds angled panels and extra fitting time, as our stair railing installation guide explains. These runs are mounted one panel at a time up the slope. Expect a stair install to take a little longer than a level deck, and plan for the crew to work carefully around each step.
Noise, Dust, and Access
There will be some drilling, movement, and light dust during the work, and homeowners around Redmond plan to keep the area quiet and open. The crew will need to pass through freely as they carry panels and tools between the staging area and the railing. Staying clear of the work zone helps everything move faster, and it keeps you safely away from tools and glass in motion.
Getting the Most From Installation Day
A prepared home and a professional crew are what make install day quick and clean. When the space is ready, the installers can focus entirely on a flawless finish.
A Quick Final Walkthrough
Before the crew leaves, walk the finished railing together to check alignment, hardware, and glass. Point out anything you want reviewed while they are still on site. This final check is your chance to confirm the work matches what you expected before the crew packs up and heads out.
Why Homeowners Trust Glass Railing Seattle
From first plan to final panel, homeowners rely on the specialists at Glass Railing Seattle to make install day smooth and stress-free. Focusing only on glass means every crew knows exactly how to work cleanly in your home.
Book Your Installation
Ready to schedule your railing and prep with confidence? Contact our team for a consultation, and we’ll walk you through everything you need before your glass railing installation day.