
A stair glass railing installation moves through five main steps homeowners should expect: planning and design, precise measuring, custom panel fabrication, installation day, and a final inspection. Stairs are the most detailed part of any railing project because every panel follows a slope, so the process is more involved than a straight run. Knowing what happens at each stage helps you plan the timeline, budget with confidence, and avoid the surprises that can stall a project midway. Here are the project steps to expect, from the first consultation to the day your railing is signed off, so you know exactly what each stage involves.
Table of Contents
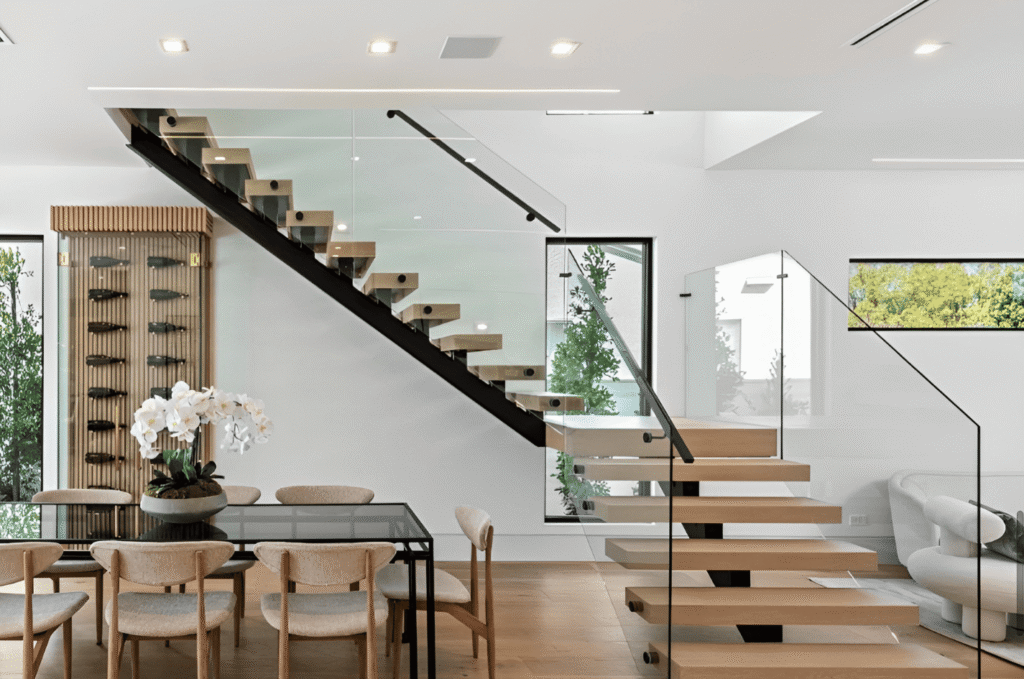
Why Stair Railing Projects Have Extra Steps
Stairs pack more angles, cuts, and connections into a small space than any other railing. That complexity is why a stair glass railing project follows a careful, staged process. Understanding it upfront makes the whole experience smoother, and it helps you set realistic expectations for both cost and timeline.
More Angles and Custom Panels
Every stair panel is cut to match the exact rake of the steps, so almost nothing is off-the-shelf. Because a run involves several custom pieces, the glass railing project steps take longer than a level deck, and each panel has to be templated on its own. Our railing project timeline shows how these stages fit together.
Safety and Code on Stairs
Stair railings face stricter rules on height, gaps, and load because of the slope and fall risk. Meeting code here shapes both the design and the hardware from the start, so nothing has to be reworked once the glass is fabricated. Getting it right early prevents failed inspections later, when a code miss would mean reworking finished panels that can’t be altered.
One Continuous, Coordinated Project
From measuring to mounting, a glass stair railing is planned as one connected system. Each step depends on the one before it, so skipping ahead rarely works. That coordination is what keeps the finish clean, and it is why an experienced crew plans the entire run before cutting a single panel.
Step One: Planning and Design
Every project starts with decisions, not tools. Careful glass stair railing planning sets the style, budget, and layout the rest of the timeline depends on. This phase usually takes one to two weeks.
Consultation and Style Choices
The process opens with a consultation covering design, budget, and how the stairs will be used. Homeowners throughout Seattle review glass types, hardware finishes, and mounting styles here. These early choices shape the entire project, from the glass thickness ordered to the handrail style that ties the staircase together.
Choosing the Railing System
Interior stairs often suit a clean indoor glass railing, while exterior steps need weather-rated hardware. Matching the system to the setting is a key planning decision. The right choice balances looks, safety, and durability, and it depends heavily on whether the stairs sit inside or face the weather.
Design Approval and Scope
Once the look is set, you sign off on a final design and a detailed quote. Locking the scope now keeps the rest of the process predictable, and gives you a clear date to work back from as fabrication begins. Approval is the green light for measuring and fabrication, and nothing is ordered until that sign-off is firmly in place.
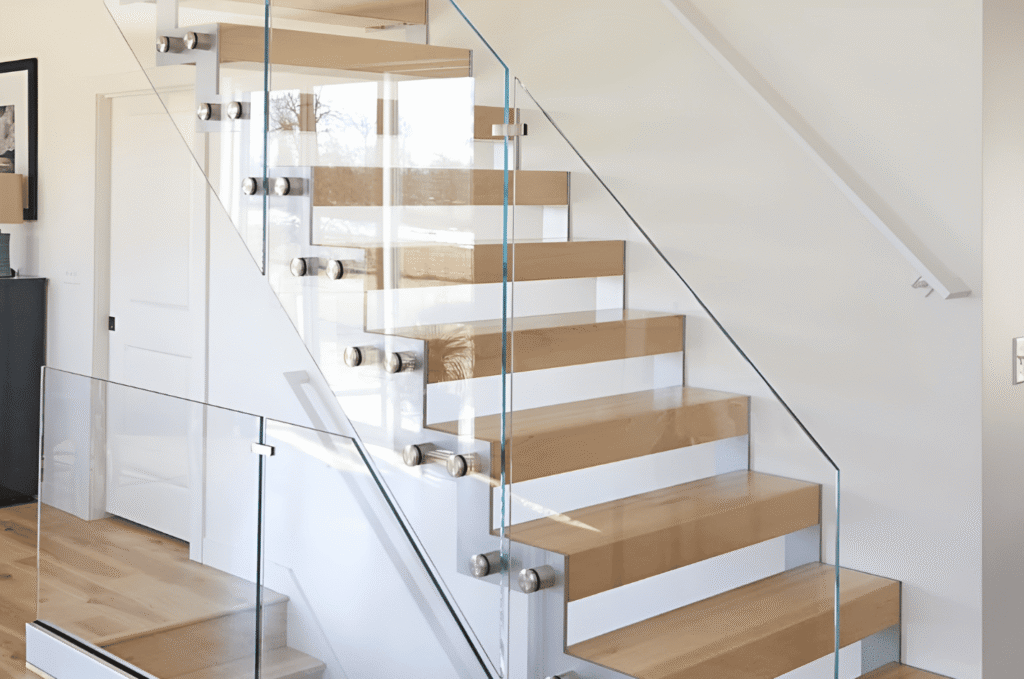
Step Two: Measuring and Custom Fabrication
With the design approved, precision takes over. Accurate stair glass railing measurements drive fabrication, since every angled panel is made to order and can’t be changed afterward. This stage is where careful work pays off most.
Field Measuring and Templating
A professional templates each stair panel against the finished steps, capturing exact rake angles. On projects in Bellevue homes, crews measure the real structure rather than the plans. These templates go straight to the fabricator, where even a small angle error can leave a stair panel that won’t seat correctly.
Fabricating Custom Stair Panels
The measurements become an order for custom stair panels, cut, drilled, and tempered to spec, as our guide to custom glass panels explains. Tempering locks in each size permanently. This is usually the longest stage of the project, since tempering and any custom edgework each add days that can’t be rushed.
Preparing Hardware and Site
While panels are fabricated, posts, standoffs, and the stair substrate are prepared. Reinforcing weak framing now prevents loose panels later, because even flawless glass will shift if the stairs beneath it aren’t solid. A ready site means install day runs without delays, so the crew can focus on setting glass rather than fixing the structure.
Step Three: Installation Day
This is the step most homeowners picture. Once panels arrive, the stair glass railing installation moves quickly because the hard planning is already done. Most stair installs finish in one to two days.
Setting Posts and Base Hardware
Crews first anchor posts, standoffs, or base shoes to the prepped stairs, checking each for plumb and spacing. Installers in Kirkland set every base point before a panel goes in. Accurate hardware placement makes the glass line up cleanly, and on stairs it is the foundation every following panel depends on.
Mounting the Angled Panels
Each tempered panel is set into its hardware, leveled, and spaced to consistent gaps along the slope. On Mercer Island homes, panels are aligned one at a time up the run. Careful alignment is what creates the seamless stair look, where gaps stay even and the top line follows the slope perfectly.
Securing Rails and Handrails
Handrails, clamps, and caps are torqued to spec and checked for movement along the whole run. Every fitting must hold panels firmly without stressing the glass, since over-tightening can crack an edge just as easily as a loose clamp can rattle. This locks the stair system safely in place, and a final movement check confirms nothing shifts before the crew steps back.
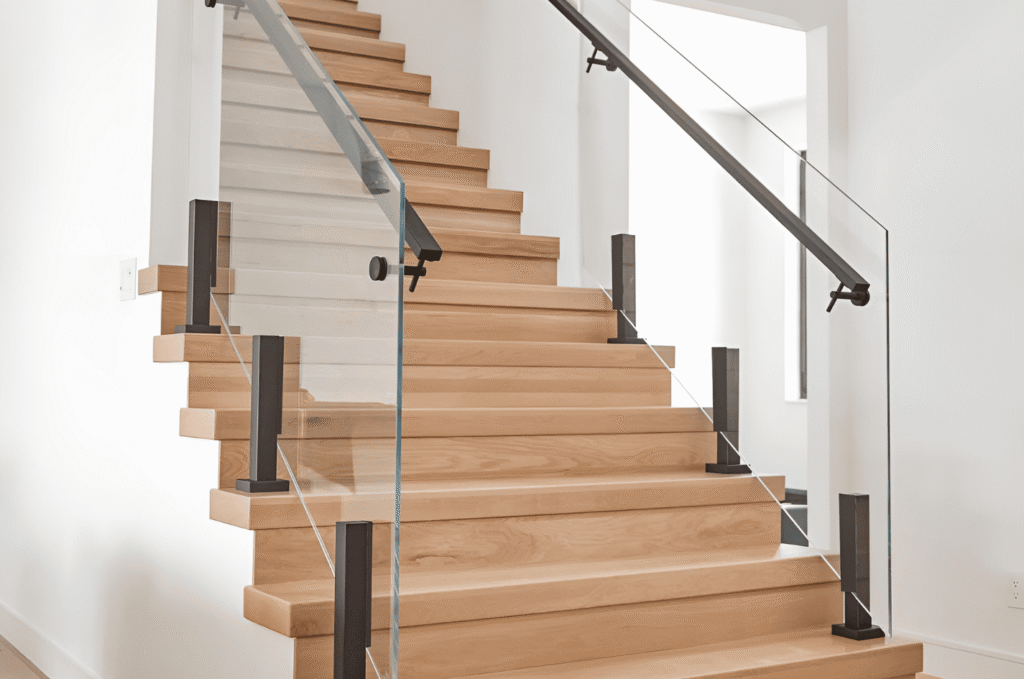
Step Four: Inspection and Handover
The project ends with a careful review, not just the last bolt. A final inspection confirms the stair railing is safe, compliant, and clean before you sign off on the work.
Final Walkthrough and Cleanup
A final walkthrough checks alignment, hardware, and glass for any last touch-ups. The crew cleans the panels and clears the site. You confirm everything matches the approved design, and any minor adjustment is handled on the spot before the project closes out.
Why Homeowners Trust Glass Railing Seattle
From first plan to final panel, homeowners rely on the specialists at Glass Railing Seattle to handle the angles stairs demand. Focusing only on glass means every step is done by people who do it every day.
Start Your Stair Railing Project
Planning a new staircase railing and want it done right? Contact our team for a consultation, and we’ll walk you through each step of your stair glass railing installation from design to handover.