
Framed glass railing combines the elegance of transparent glass panels with the structural support of metal frameworks. For Kent homeowners considering glass railing installation, understanding the complete process helps set realistic expectations and ensures successful results.
This guide walks through each phase of installing framed glass railing systems for both indoor glass railing and outdoor glass railing applications throughout the Kent area.
Table of Contents
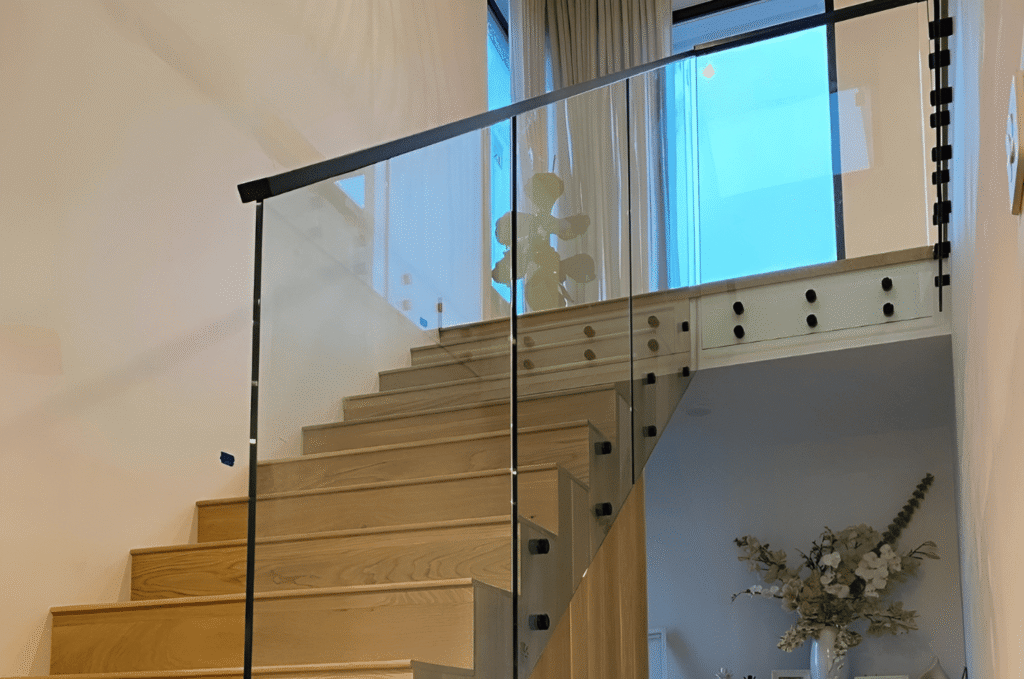
Understanding Framed Glass Railing Systems
Framed glass railing features glass panels enclosed within visible metal frameworks. Unlike frameless systems that rely solely on thick glass for structural support, framed designs use aluminum or stainless steel posts, top rails, and bottom rails to hold each panel securely. This approach allows thinner glass while providing excellent durability and easier installation.
Glass railing frames offer practical advantages for many Kent glass railing projects. The structural framework distributes loads across multiple connection points, making framed systems more forgiving on older surfaces or remodel conditions. Frame types include square posts, round posts, and various clamp configurations that accommodate different design preferences.
Essential Components for Framed Glass Railing
A complete framed glass railing system includes several key components that work together to create safe, beautiful barriers.
Posts and Frames
Vertical posts anchor the entire system to your mounting surface. Options include powder-coated aluminum for most applications or stainless steel for harsh environments. Posts come in surface-mount styles that bolt to deck or floor surfaces, or fascia-mount configurations that attach to the side of structures. For glass stair railing in Edmonds, angle posts accommodate the slope of your staircase.
Glass Panels
Tempered safety glass panels fit between posts, typically three-eighths inch thick for framed applications. Panels arrive pre-cut to your exact specifications with polished edges for safety. Clear glass maximizes transparency while frosted or tinted options provide privacy where needed.
Clamps and Hardware
Glass clamps attach to posts and grip panels securely without drilling through the glass. Clamp styles include square, round, and D-shaped configurations. Each end post requires two clamps while center posts need four clamps to secure adjacent panels. Stainless steel clamps provide durability for outdoor glass railing installations.
Top Rails and Handrails
Top rails cap the system and provide a graspable surface for safety. Options include metal cap rails that mount directly on posts or wood handrails for warmer aesthetics. Building codes require graspable handrails for stairs, making this component essential for glass stair railing applications in Kirkland.
Tools Required for Installation
Professional glass railing installation requires specific tools for safe and accurate work. Essential equipment includes a drill with appropriate bits for your substrate, level for verifying post alignment, tape measure for precise positioning, and speed square for layout marking. Glass suction cups safely handle heavy panels without edge damage. Protective gear including safety glasses, work gloves, and safety boots protects installers throughout the process.
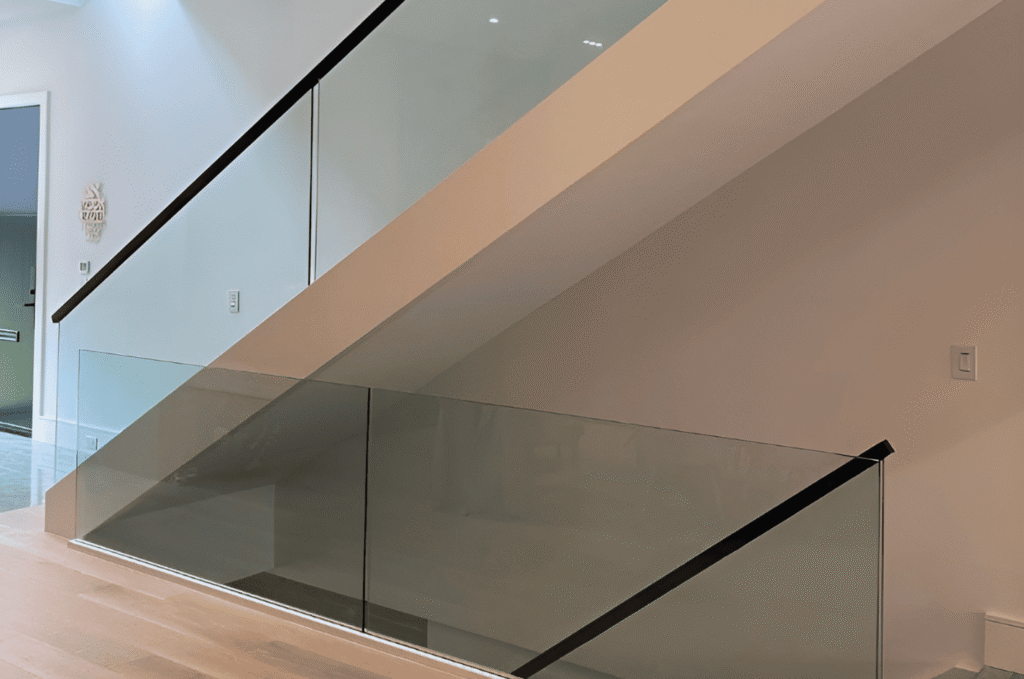
Step-by-Step Installation Process
Professional glass railing installation follows a systematic approach that ensures safety and precision. Here is the typical process for framed glass railing systems in Maple Valley.
Step 1: Site Preparation and Measurement
Installation begins with thorough site assessment. The mounting surface must be clean, level, and structurally sound. Installers verify that concrete, wood, or steel substrates can support the railing loads. Precise measurements determine exact post locations, typically spaced four to six feet apart depending on glass panel widths and local building codes.
Step 2: Layout and Marking
Using the measurements, installers mark exact positions for each post on the mounting surface. A chalk line ensures posts align perfectly along the entire run. For stairs, angle measurements ensure posts follow the slope correctly. Accuracy at this stage prevents alignment problems later in the glass railing installation in Newcastle.
Step 3: Post Installation
With locations marked, installers drill holes for anchors or mounting bolts. Surface-mount posts attach using base plates bolted to the substrate. Each post must be perfectly vertical, verified with a level before final tightening. Blocking beneath deck surfaces provides solid attachment points for secure connections. Post foot covers conceal base plates for a clean finished appearance that enhances the overall aesthetic.
Step 4: Clamp Attachment
Glass clamps screw onto pre-drilled holes in the posts. Positioning clamps at consistent heights ensures glass panels sit level across the entire system. Most framed systems include the necessary screws packaged with each clamp for straightforward attachment.
Step 5: Glass Panel Installation
Glass panels require careful handling due to their weight and fragility. Professional installers use suction cups to lift and position panels safely. Each panel slides into the clamps, which then tighten to secure the glass firmly. Rubber gaskets within clamps protect glass edges and prevent vibration.
Step 6: Top Rail and Handrail Installation
The top rail mounts to post tops, completing the frame around each glass panel. For glass stairs railing, handrail brackets attach to posts at the required height, typically 34 to 38 inches above stair nosings. Continuous handrails span multiple posts without breaks for code compliance and user safety.
Step 7: Final Inspection and Finishing
After assembly, installers verify every connection is tight and secure. They check alignment from multiple angles to ensure aesthetic quality. Silicone sealant may be applied at joints for weatherproofing outdoor installations. A final cleaning removes fingerprints and debris, leaving your glass railing systems ready for use.
Common Installation Mistakes to Avoid
Understanding common errors helps ensure successful glass railing installation. Using weak anchors causes railings to vibrate and feel unstable over time. Incorrect post spacing creates uneven panel gaps that compromise both appearance and safety. Choosing the wrong hardware grade leads to premature corrosion, especially for outdoor glass railing in Seattle.
Rough handling often damages glass edges, requiring costly panel replacements. Ignoring level verification during post installation results in crooked panels that cannot be corrected later. Skipping proper surface preparation weakens anchor connections and shortens system lifespan.
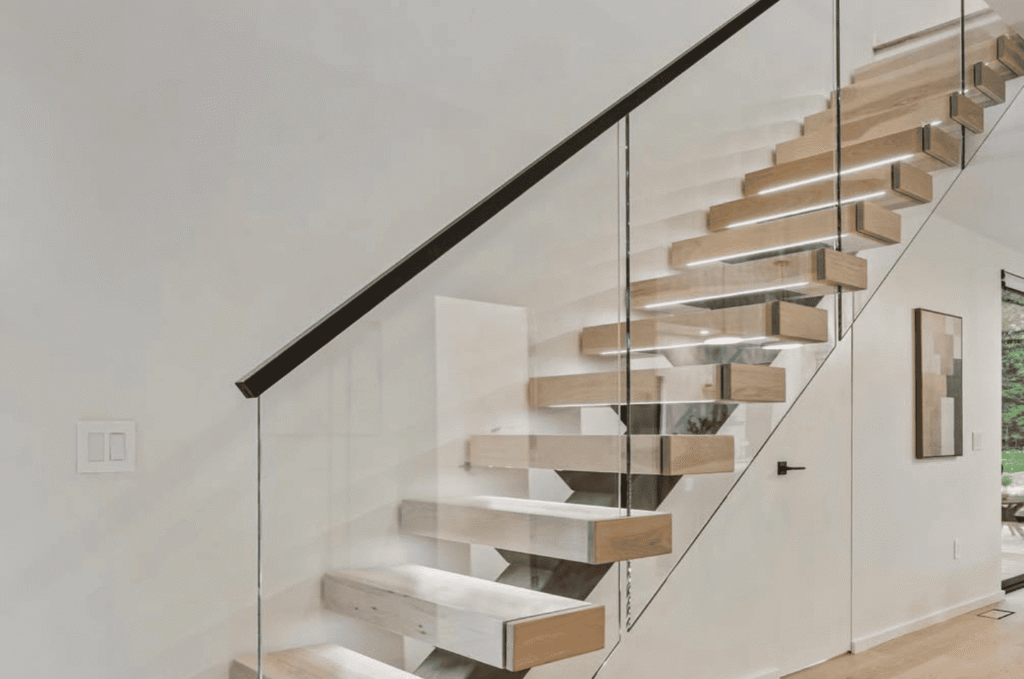
Indoor vs. Outdoor Installation Considerations
Indoor glass railing installations typically face fewer environmental challenges than outdoor systems. Interior projects can use standard aluminum posts and hardware finishes since they avoid weather exposure. Indoor glass stair railing focuses primarily on aesthetic refinement and code compliance.
Outdoor glass railing requires weather-resistant materials throughout. Marine-grade 316 stainless steel hardware resists corrosion from Pacific Northwest moisture. Proper drainage at base connections prevents water accumulation. Posts need corrosion-resistant finishes, whether powder-coated aluminum or stainless steel construction.
Why Kent Homeowners Choose Professional Installation
While framed glass railing systems are more installation-friendly than frameless alternatives, professional expertise still matters significantly. Experienced installers understand Kent and Washington State building codes, ensure proper load distribution, and deliver the precise alignment that defines quality results. Local codes require 42-inch minimum height for residential railings and 200-pound load resistance.
Professional glass railing installation includes accurate measurement, proper substrate preparation, and careful glass handling that prevents damage. Certified installers provide warranty coverage and ensure your system meets all safety requirements. Whether you need glass stair railing for your interior remodel or outdoor glass railing for your Kent deck, professional installation delivers lasting beauty and reliable performance.
Contact Glass Railing Seattle specialists to discuss your project and achieve the results you deserve.